Master Light in the Depths with Photoshop 🌊
The recent discovery of bioluminescent corals in the depths of the Pacific offers a unique opportunity to explore digital illustration techniques that capture this natural wonder. Photoshop becomes the perfect laboratory to experiment with light, color, and composition, recreating organisms that defy the abyssal darkness with their own glow. This tutorial guides the process from the first strokes to the final effects, ensuring that each step adds realism and magic to the underwater scene.
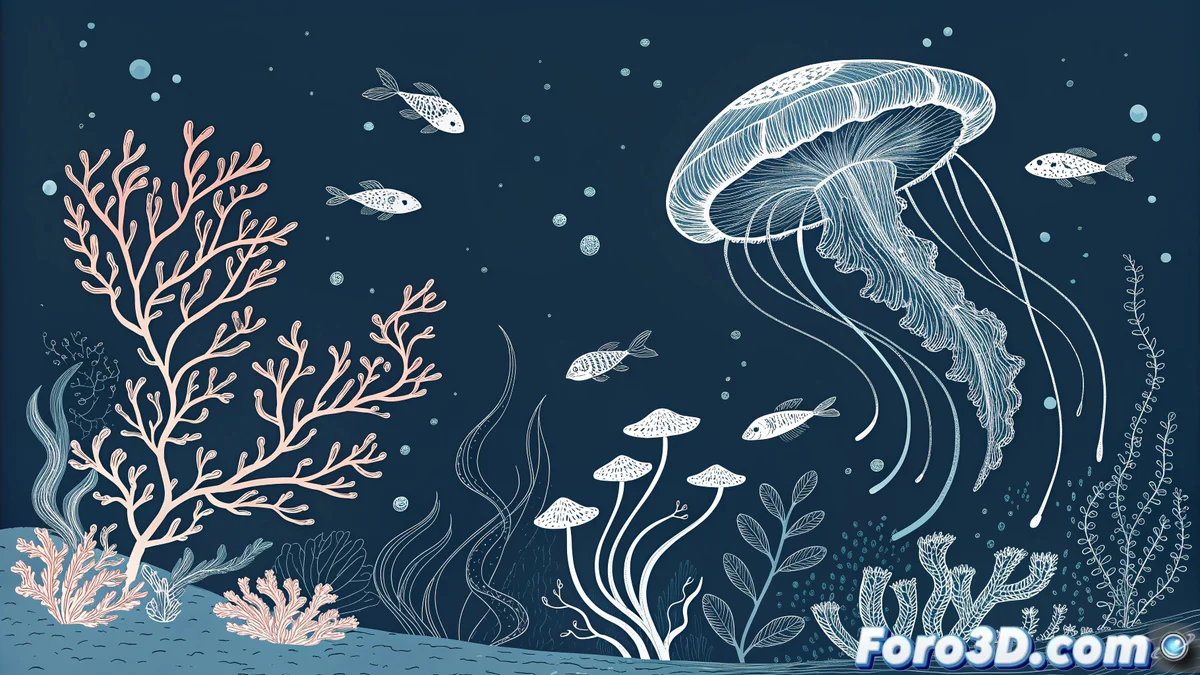
Initial Document Setup
It begins by opening Photoshop and creating a new document with standard dimensions of 1920x1080 pixels. Organizing by layers from the start is crucial: separate layers are established for the seabed background, the main coral, secondary organisms, and floating particles. This structure not only facilitates individual work on each element but also allows non-destructive adjustments throughout the process. A dark background with deep blue tones sets the base to contrast with the subsequent luminescence. 🎨
Initial Sketch and Composition
Using a technical pencil brush or a low opacity brush, an initial sketch is drawn to define the overall composition. This stage focuses on proportions and spatial distribution: the coral structure as the focal point, the position of smaller organisms, and the visual flow of the scene. The sketch acts as a structural guide, prioritizing narrative over fine details. Keeping strokes simple and clean ensures that the essence of the scene is clear before proceeding.
Outlining and Contour Structure
On new layers overlaid on the sketch, the contours of the coral and secondary elements are refined. The outlining simulates a conceptual wireframe, defining organic shapes and volumes without distractions from color or texture. Working with precise but flexible strokes allows adjusting silhouettes before committing to complex details. This phase is ideal for correcting proportions and ensuring that each element occupies its proper place in the composition.
A good outline is the skeleton on which visual magic is built; without structure, light lacks direction.
Application of Textures and Preliminary Light Effects
With the shapes defined, textured brushes are applied to suggest volume and surface on the coral. Blending modes like Overlay or Soft Light allow simulating bioluminescence effects non-destructively, playing with blue, green, and purple tones that seem to emanate from within the organism. The key is to use adjustment layers to control light intensity, creating light layers that interact with each other without saturating the scene. ✨
Review in Conceptual Outline Mode
Before moving to the final rendering, activating all contour layers and reducing the opacity of secondary elements allows reviewing the scene in an artistic wireframe view. This perspective helps identify compositional imbalances, such as:
- Lack of visual hierarchy between elements
- Incorrect proportions in floating organisms
- Unnatural spatial distribution
Adjusting these aspects at this stage ensures a solid foundation for the final color and light steps.
Compositional Adjustments and Preparation for Color
Layer and group organization facilitates the final compositional adjustments. Modifying the position of secondary organisms, intensifying or softening contour lines, and balancing black spaces reinforces the visual impact of the coral as the protagonist. Once satisfied with the structure, sketch layers are deactivated or merged to prepare for full color application and advanced luminous effects.
While real corals illuminate the abyss with natural chemistry, we do it with layers and blending modes. In the end, the true glow comes from knowing that Color Dodge is not just a mode, it's a digital lifestyle. 😉