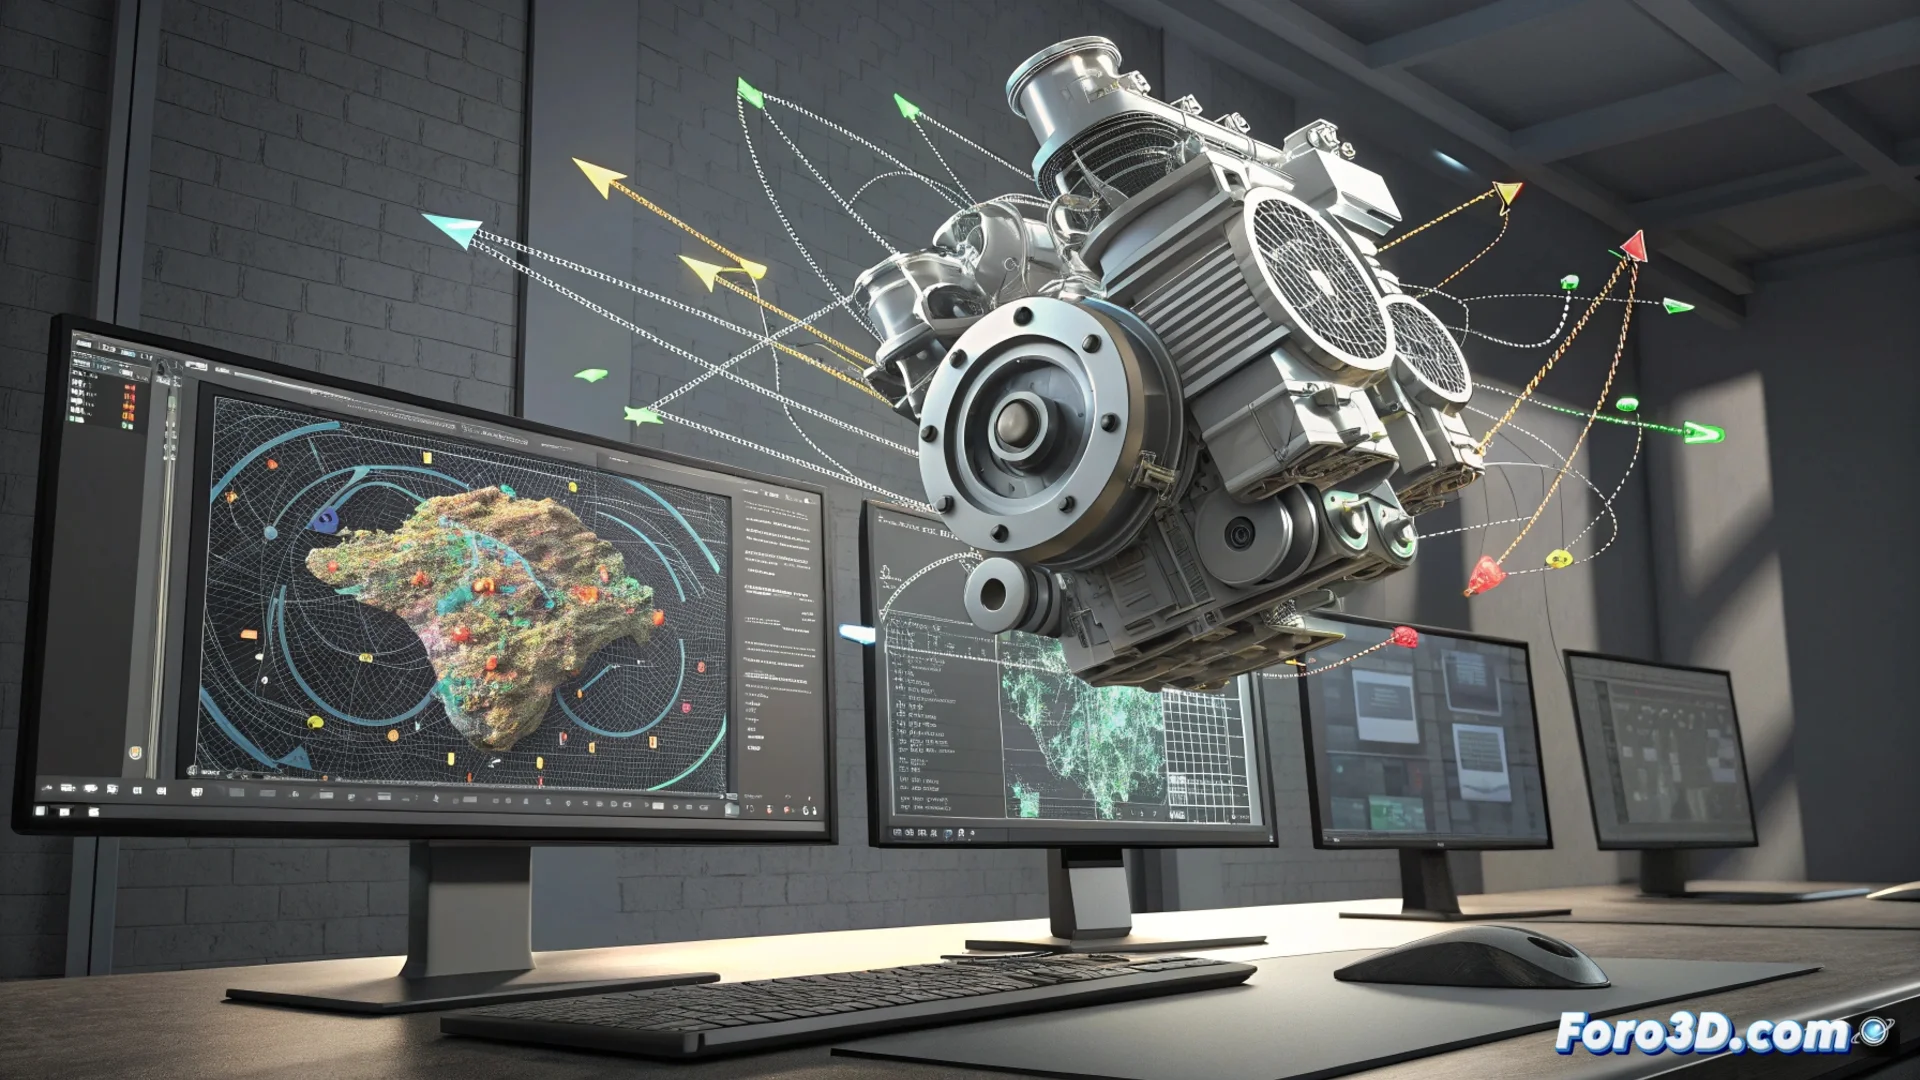
Aligning Point Clouds with CAD Models Using Best-Fit in PolyWorks
In 3D metrology, comparing a scanned physical object with its theoretical design is a fundamental step. The Best-fit Alignment module in PolyWorks automates this crucial process, calculating the optimal position for the scanned data to match the CAD model. This lays the foundation for reliable dimensional analysis 🎯.
How does the best-fit algorithm work?
Instead of relying on specific points, the system analyzes the entire surface scanned. Its goal is to find the spatial transformation (rotation and translation) that minimizes the sum of the squares of the distances between the point cloud and the CAD geometry. It optimizes the overall fit, which is especially valuable for parts lacking clear references or with minor deformations.
Key features of the process:- Minimizes global deviations: Seeks to distribute differences evenly, not just in specific areas.
- Provides a neutral base: Establishes a stable and repeatable coordinate frame for precise measurement.
- Prepares for objective analysis: Aligned data allows identifying and quantifying real manufacturing deviations without bias.
Without proper alignment, any subsequent measurement may contain systematic errors. This algorithm straightens the virtual ruler before starting to measure.
The critical importance of good alignment
The accuracy of the entire dimensional analysis depends directly on this first step. Poor alignment introduces errors that distort color maps, tolerance reports, and the final part evaluation. The method ensures that geometries are compared in their most representative spatial orientation.
Advantages of using this approach:- Objectivity: Eliminates subjectivity in manually selecting reference points.
- Robustness: Works well even with incomplete scan data or noise.
- Efficiency: Automates a complex process, saving time and reducing human errors.
Foundation for precise measurement
Essentially, the Best-fit Alignment module transforms raw scan data into a reliable base for inspection. By ensuring the virtual "ruler" is straight from the start, everything measured afterward –deviations, tolerances, wear– will reflect the reality of the physical object and not an artifact of poor positioning. It is the cornerstone for rigorous metrological quality control 📏.