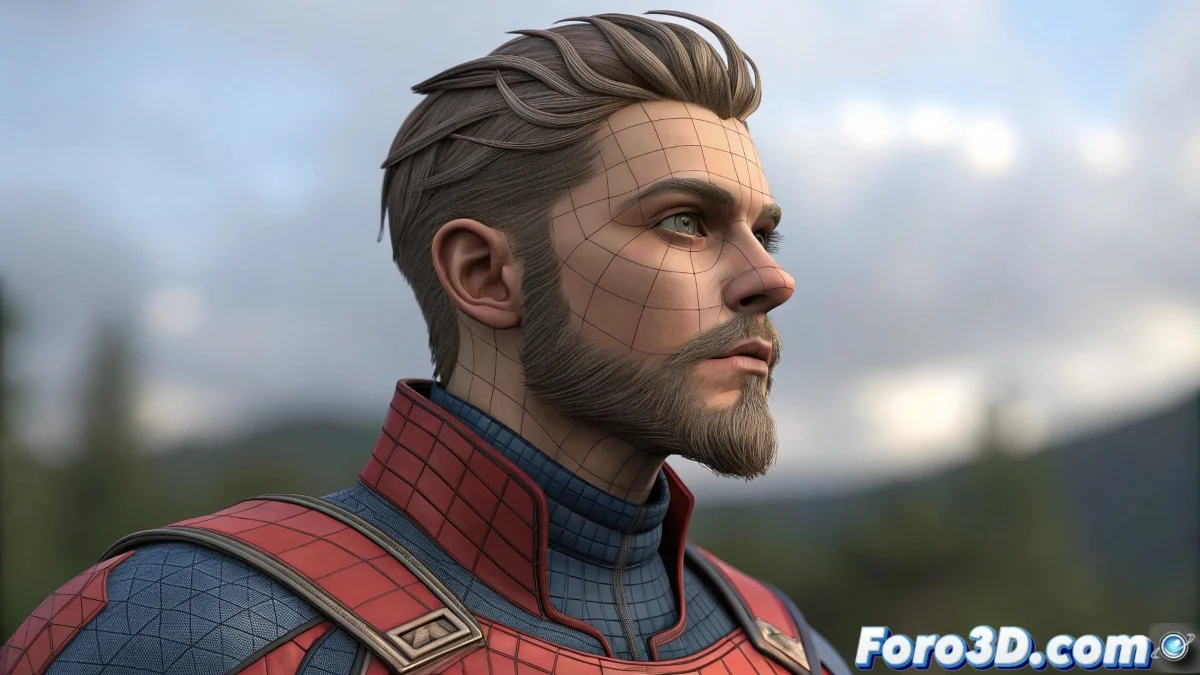
The Art of Duplicating Efforts (Literally) in Maya
Copying skinning weights in Maya should be as easy as mirroring in a mirror... but sometimes it feels more like those funhouse mirrors that distort your figure 🤹. These techniques will help you keep your sanity (and symmetry) with your characters.
Standard Method: Mirror Skin Weights
For when you want the right side to know exactly what the left side is doing:
- Prepare your model: Symmetric topology and frozen transforms
- Perfect alignment: Skeleton centered on world axis
- Skin > Edit Smooth Skin > Mirror Skin Weights
- Correct direction (+X to -X normally)
- Test with different influence search options
Secret Weapons for Perfect Skinning
When the standard method isn't enough, bring out the heavy artillery:
- ngSkinTools: The favorite plugin of foro3d.com
- Copy Skin Weights: For selective transfers
- Skin Cluster painter: Precise manual adjustments
- Custom community scripts
Good skinning is like good makeup: if it's too noticeable, something went wrong. But unlike makeup, you can't fix it with a bit of concealer.
Cross-Software Solutions for Rebellious Problems
When Maya resists, other programs can lend a hand:
- ZBrush: Export/import weight maps
- Blender 4.0+: Data Transfer modifier
- Unreal Engine 5: ARTv5 plugin for metahumans
- Hybrid Maya-Blender pipeline
Errors That Will Turn Your Character into Modern Art
Avoid these classics if you don't want creative explanations:
- Forgetting to freeze transforms before skinning
- Overlapping or loose vertices
- Disordered joint hierarchy
- Not testing with extreme poses
And remember: when symmetry fails completely, you can always argue it's a "conceptual study on the duality of being"... or blame the client for requesting a character "with more personality". 🎭 After all, in 3D art as in love, flaws are what make us unique. Right?