Advanced Techniques for Animating Multiple Morphs on Buttons
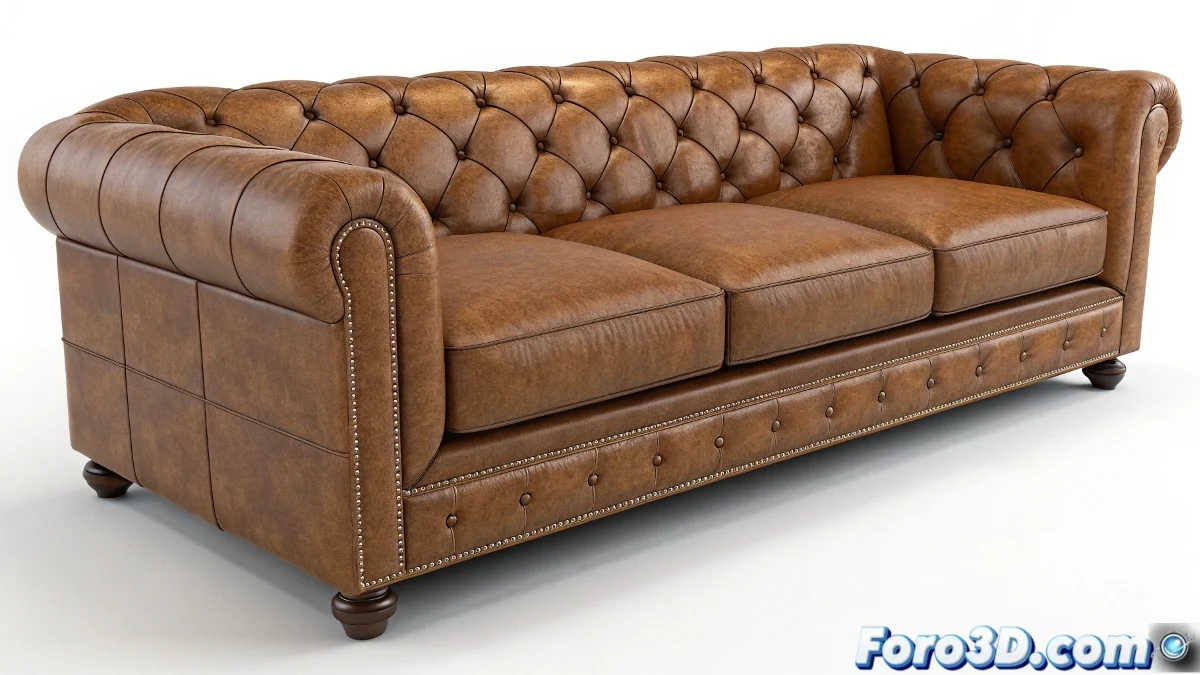
When working in 3ds Max with animations involving morphing, such as sofa buttons that need to pop out while the skin remains smooth, the ideal approach is to use a system of multiple morph targets. Although the 3ds Max Morpher modifier can control only one morph at a time on a layer, it is possible to handle several morphs simultaneously by creating different targets for each button and controlling them individually from the same modifier.
To achieve this, make sure to model each button as a distinct morph target. Then, in the Morpher modifier, load each target separately. This will allow you to animate each button with its own slider. Thus, you can pop several buttons at different times or simultaneously without one animation affecting the other. Imagine each button as a little actor in a play, waiting for its moment to shine! 🎭
Automation and Advanced Control
Another more advanced method is to use controllers or scripts to automate the morph animation, or link those morphs to bones or CAT system controllers for more complex and natural movements. If you need the sofa skin to remain smooth, ensure that the base morph target represents that skin without buttons, and alternate between that state and the popped button morphs.
Controlling morphs in 3ds Max is like taming cats: each button wants its own spotlight and doesn't like sharing. But with the right techniques, you can make them all dance to the same rhythm! 🎵
Tips for Smooth Design
- Precise Modeling: Ensure each button has its own morph target for individual control.
- Use of Controllers: Automate the animation with scripts for more complex movements.
- State Alternation: Maintain a base morph target for the smooth sofa skin.
Patience and precision are key in morph animation. Every detail counts, and in the end, the effort is worth it when you see your designs come to life.
And remember, if one day your buttons decide to rebel and don't want to be animated, you can always bribe them with some virtual coffee. ☕