Advanced Technique for Creating Perforations in 3D Models with Textures
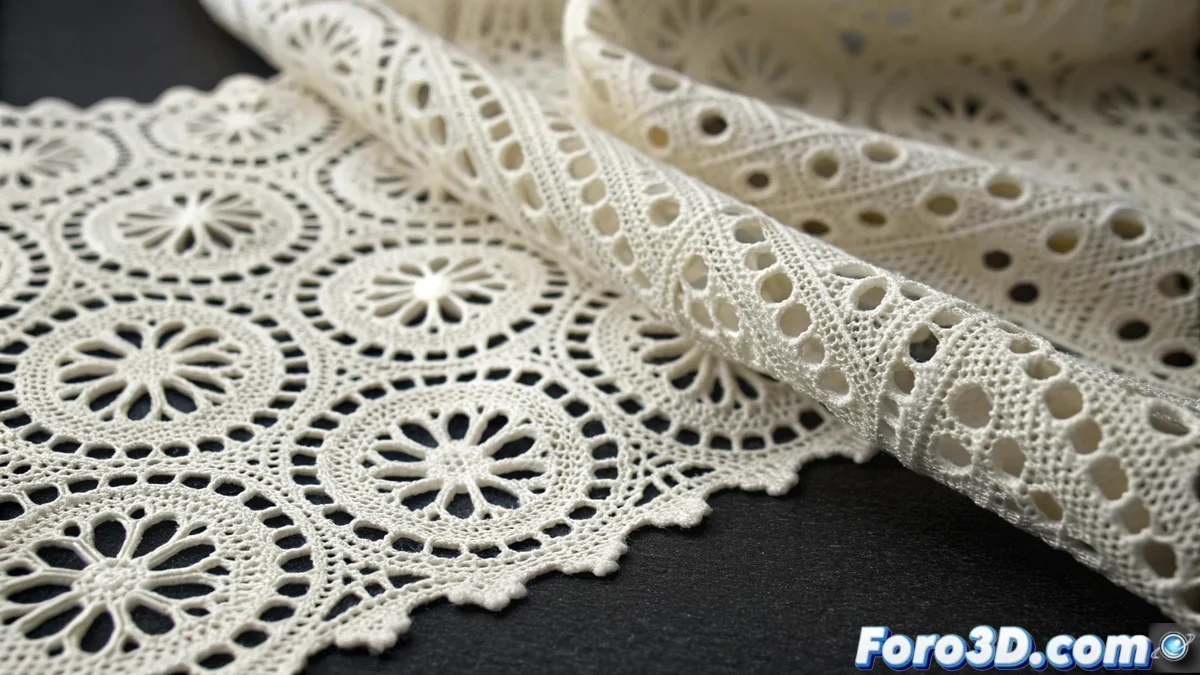
A highly effective strategy for incorporating detailed holes into three-dimensional models involves the use of grayscale textures, where white areas indicate solidity and black areas define the perforations. This approach is especially useful when working with organic surfaces, such as fabrics or materials with variable porosity, as it enables the design of intricate patterns without having to manually sculpt the geometry. The main advantage lies in the adaptability to modify the design by simply retouching the texture, accelerating both the creation and iterations of the project 🎨.
From Texture to Volumetric Geometry
To transform these simulated perforations into three-dimensional geometry with thickness, we apply specialized modifiers that interpret the texture information and convert it into tangible volume. We start by assigning the black and white texture as a transparency or displacement map in the material, then use tools like the Boolean or Displace modifier to extract the desired shape. The process continues by adding thickness using the Solidify modifier, which transforms the flat surface into an object with uniform depth, ensuring that the edges of the holes are sharp and well-defined for subsequent manufacturing 🔧.
Key steps in the process:- Assign the grayscale texture as a transparency or displacement map in the model's material
- Apply modifiers like Boolean or Displace to extract the perforation geometry
- Add thickness using Solidify to convert the 2D surface into a 3D object with uniform volume
The flexibility of adjusting the design through simple texture editing greatly speeds up the creative and review process.
Optimization for Efficient 3D Printing
It is essential to verify that the resulting geometry meets the technical requirements of three-dimensional printing, avoiding excessively thin structures or problematic topologies. We perform a thorough inspection of the mesh to eliminate loose vertices and overlapping faces, as well as ensuring that the perforations have the recommended minimum size according to the nozzle diameter of our printer. A highly recommended practice is to apply a remeshing modifier to uniformize the polygon distribution, thus ensuring that the model is both lightweight and printable without compromising the detail of the original pattern 🖨️.
Important technical considerations:- Verification that there are no excessively thin structures that compromise the integrity of the printed model
- Elimination of loose vertices and overlapping faces through detailed mesh inspection
- Application of remeshing modifier to homogenize polygon distribution and optimize file weight
Balance Between Aesthetics and 3D Printing Efficiency
Remember that although this advanced technique simulates realistic holes, in the context of 3D printing each perforation represents less material consumption and reduction in manufacturing time. Therefore, it is crucial to plan your designs considering the perfect balance between visual appearance and production efficiency, especially if you avoid dedicating printing hours to elaborate complex lacework that could be resolved with simpler geometries. The key is to leverage the advantages of textures without neglecting the practical aspects of additive manufacturing ⚖️.