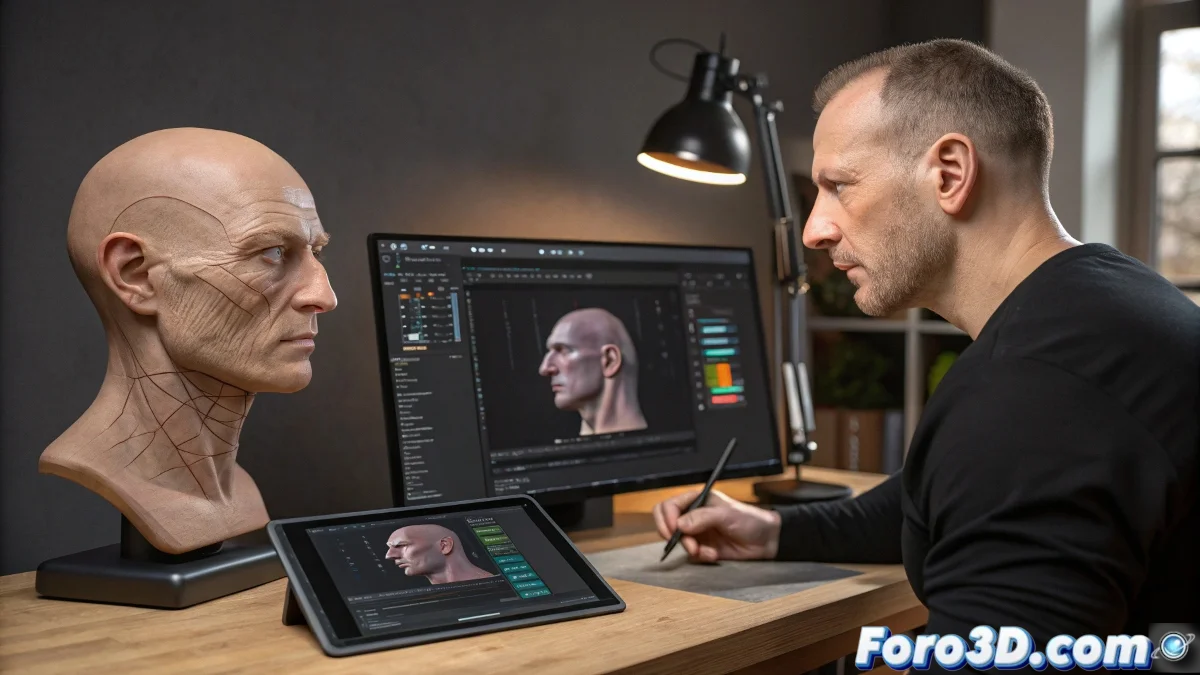
Translating the Art of Facial Animation from Maya to 3ds Max
The legendary book Stop Staring by Jason Osipa is like the bible of facial animation, but with one small detail: it's written in Maya... not the language, but the software. 😅 For 3ds Max users, applying these techniques requires a small translation exercise, like converting cooking recipes from one language to another without burning the cake.
Dictionary of Terms for Bilingual Animators
When Osipa talks about Blend Shapes, he's actually asking you to use:
- Morph Targets in 3ds Max
- The Morpher modifier
- Your favorite patience (the one you save for these cases)
Facial animation is like doing digital mime: if the movements don't match what they should be, your character ends up looking like they had a stroke.
Automating Expressions Without Losing Your Mind
Maya's famous Set Driven Keys find their equivalent in 3ds Max's Reaction Manager. This system allows you to:
- Create smart relationships between controls
- Automate transitions between expressions
- Feel like a digital puppeteer 🎭
The magic happens when a simple slider triggers an entire choreography of facial movements, although sometimes the magic fails and you get expressions that would make a professional clown cry.
Cross-Platform Workflow
For modern animators, the solution may lie in combining tools:
- Use Shape Keys in Blender for certain expressions
- Export to 3ds Max via FBX
- Finish the rig in the game engine
This hybrid approach is like ordering takeout from different restaurants: you get the best of each cuisine without having to do the dishes. 🍽️
At the end of the day, what matters is that your character can express emotions without looking like they're having a hiccup attack. And if someone asks why your version doesn't exactly match the book, simply say it's a "personal artistic interpretation." 😉