3D Resin Printing to Customize Role-Playing Miniatures and Scenarios
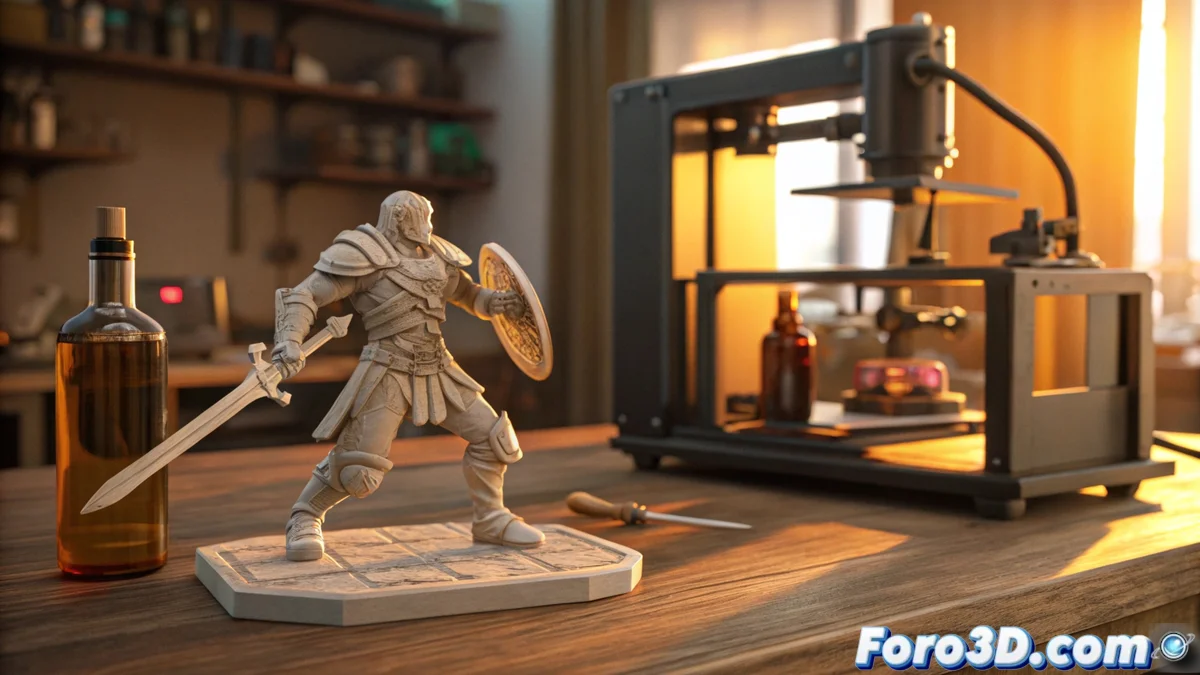
Imagine bringing to the table an exact physical representation of your role-playing character? 3D resin printing has revolutionized how board game and role-playing enthusiasts materialize their adventures. This technology allows avoiding generic figures and creating unique heroes, monsters, and scenarios, with a level of precision that was previously difficult to achieve. 🧙♂️⚔️
Key Advantages of Using Resin for Your Figures
The 3D resin printing process, known as stereolithography (SLA), uses a UV laser to solidify a liquid polymer layer by layer. This method generates extremely thin layers, often only 25 to 50 microns. This precision is what allows capturing complex textures like dragon scales, intricate engravings on armors, or realistic facial expressions, surpassing other manufacturing techniques for this purpose.
Complete Workflow to Create a Miniature:- Design or Download the 3D Model: The first step is to obtain a digital file, either by modeling it from scratch or selecting it from specialized online libraries.
- Prepare the File for Printing: In slicing software, the figure is oriented and supports essential to prevent overhanging parts from collapsing during the process are added.
- Print and Cure: The printer builds the piece. Then, it is washed in isopropyl alcohol to remove uncured resin and exposed to UV light to harden it completely.
The ability to control every stage, from the digital concept to the final painting, grants total creative freedom to adapt each element to the specific narrative of a campaign.
Post-Processing and Painting Your Creations
Once you have the printed and cured figure, the work is not finished. Post-processing is crucial to achieve a professional result. First, the supports are carefully removed from the piece. Then, it is common to gently sand the marks they leave to achieve a uniform surface. Applying a primer layer is the next step, as it creates a base that helps acrylic paint adhere properly and look vibrant on the game table.
Materials and Tips for the Final Finish:- Acrylic Paints: They are the standard choice for their quick drying and ease of mixing colors and applying techniques like washing (wash) to highlight details.
- Basic Tools: Brushes of different sizes, a palette for mixing, and good lighting are essential for precise painting.
- Final Protection: It is recommended to apply a matte or satin varnish to protect the paint job from handling during games.
Integrating Custom Scenarios into Your Games
The advantage of 3D resin printing is not limited to figures. You can produce complete scenography elements, such as modular dungeons, trees, rocks, or furniture. Printing these scenarios in parts allows creating dynamic environments that change with each session, increasing player immersion. Combining your own miniatures with custom-made scenarios transforms the gaming experience, making every encounter with a final boss or exploration of an ancient ruin visually memorable. 🏰✨