
The Millennia-Old Mystery That Continues to Amaze
A recent archaeological study in the United Kingdom has revealed an astonishing discovery: some of Stonehenge's iconic stones originally come from a megalithic circle located in Wales, over 200 kilometers away. This finding suggests that prehistoric communities had a much more advanced capacity for organization and cooperation than previously thought. For 3D artists, this news represents a fascinating opportunity to digitally recreate both monuments and visualize this impressive ancestral journey. 🪨
Reviving the Past with Digital Tools
3ds Max presents itself as the ideal platform to reconstruct this chapter of ancient history. The challenge is not only to model the stones with archaeological precision, but to capture the essence of time through eroded textures and lighting that evokes the mystery surrounding these monuments. It is a perfect exercise for practicing organic modeling and creating believable natural environments, skills highly valued in the visual effects industry.
Key Elements for an Authentic Recreation
Achieving a convincing representation of Stonehenge and its Welsh origin requires attention to several technical and artistic aspects.
- Megalithic Geometry: Irregular and eroded shapes that reflect real stones.
- Aged Textures: Surfaces with moss, lichens, and millennia of wear.
- Historical Landscape: Natural environments that evoke prehistoric Britain.
- Mysterious Atmosphere: Lighting that conveys the enigma of the monument.
The digital recreation of archaeological sites allows historical theories to be visualized in a tangible and accessible way.
Practical Guide in 3ds Max
Start by organizing the project methodically. Open 3ds Max and save the file as stonehenge_wales.max. Set the units to the metric system and create layers for each element: Stones_Stonehenge, Stones_Wales, Terrain, Vegetation, Lighting. This organization will be your best ally as the scene gains complexity. 🗿
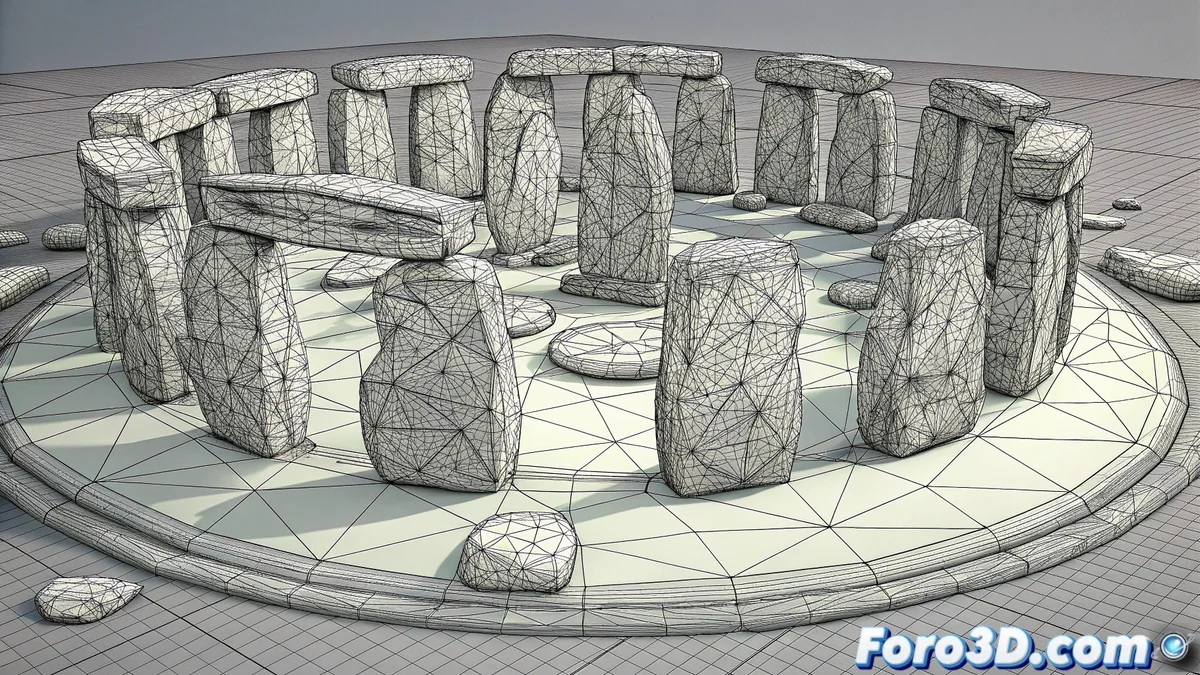
Modeling the Stone Giants
To create the stones, use basic primitives like Box or Cylinder and apply the Edit Poly modifier to give them irregular shapes. The Noise modifier will be essential for adding the characteristic roughness of natural stones. Vary the dimensions and rotations of each megalith to avoid repetitive patterns that reveal the digital origin of the model.
Texturizing History
Material assignment is where the stones come to historical life. Use a V-Ray or Arnold material with diffuse maps that show the chromatic variations of natural stone. Add bump and normal maps to simulate surface erosion, and blend moss textures in areas that would be more shaded and humid. Remember that imperfection is the key to realism in this type of recreation.
Creating the Prehistoric Environment
Model a undulating terrain using the Displace modifier with a procedural noise map. Add basic vegetation using particle systems or scattering plugins for grass and shrubs. For lighting, set up a Daylight System with the sun position corresponding to dawn or dusk, times that dramatically enhance the stone forms. A skylight will complement with soft and natural ambient lighting. 🌄
Composition and Final Render
Set up cameras that show both the overall view of the complete circle and detail shots that highlight the texture of individual stones. For the render, enable global illumination and ambient occlusion for photographic realism. In post-production, slightly adjust the color curve toward earth tones, increase selective moss saturation, and apply subtle vignetting to direct the viewer's attention to the monument.
While our ancestors moved tons of stone across mountains and valleys, we consider it a personal triumph to park between two cars. Human evolution has some quite curious paradoxes. 😅