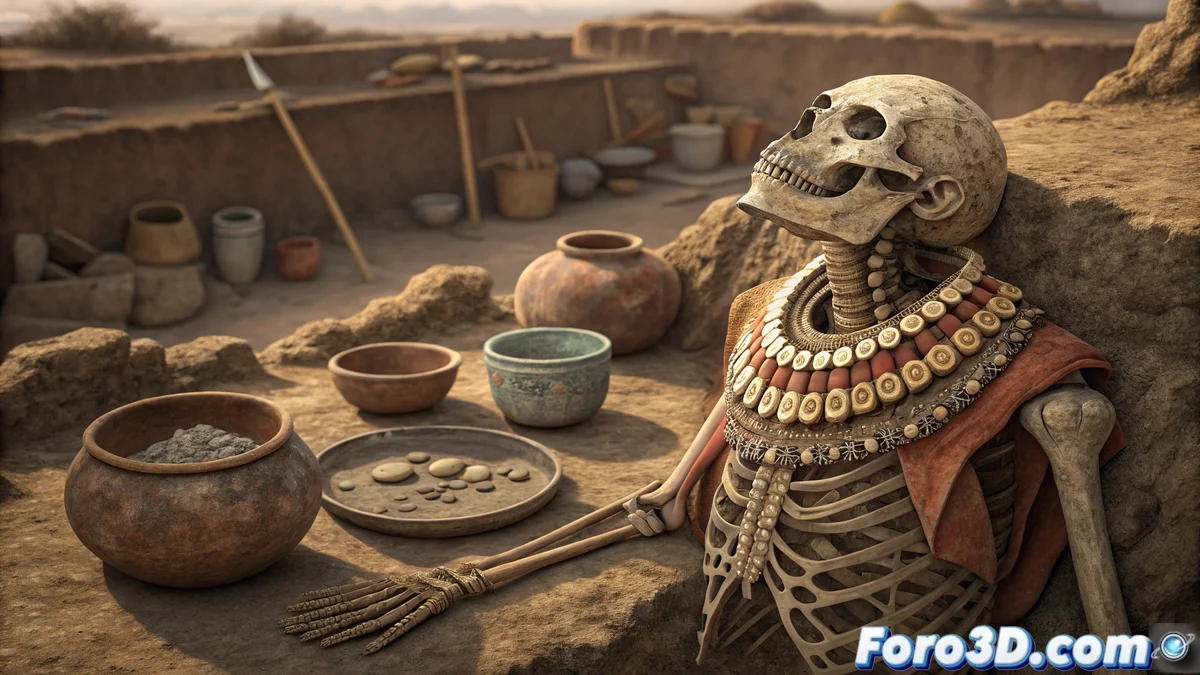
A Very Elegant Wolf Comes to Light
The work of INAH archaeologists at the Templo Mayor in Mexico City never ceases to amaze. Recently, they unearthed a pre-Hispanic offering that had remained hidden for more than five centuries. The most striking element was the skeleton of a wolf, adorned with an elegant collar and pectoral made from shells 🐚. Next to it lay ceramic pieces and flint, offering a fascinating window into the rituals and symbolism of Mesoamerican cultures. For digital artists, a find like this is incredible inspiration to test their skills.
From the Earth to the Digital World: Recreating the Offering in 3D
Autodesk Maya presents itself as the perfect tool to bring this archaeological discovery back to life. The goal is not just to model the objects, but to capture the essence of time through textures that show wear and lighting that evokes the dimness of a sacred site. It's an exercise that combines historical precision with the artistic freedom of 3D design, ideal for visual effects portfolios. After all, what better project than one with 500 years of history behind it? 💎
Key Elements for an Authentic Recreation
To achieve a convincing result, it's crucial to focus on several technical and artistic aspects. Attention to detail will make the difference between a simple model and a scene that tells a story.
- High-fidelity modeling: From the wolf's build to the fractures in the ceramic.
- Aged textures: Applying dirt, erosion, and faded colors over time.
- Ambient lighting: Simulating the dim light filtering into an archaeological space.
- Narrative composition: Arranging the elements to guide the viewer's gaze toward the offering.
Digital recreation allows preserving and sharing cultural heritage in a completely new and accessible way.
Step-by-Step Guide in Autodesk Maya
The first step is crucial: organize the project. Open Maya and save the file with a clear name, like ofrenda_templo_mayor.mb. Set the units to the metric system and create layers for each element: Wolf, Accessories, Ceramic, Scene, Lighting. This organization will save your sanity when the scene gets complicated 😉.
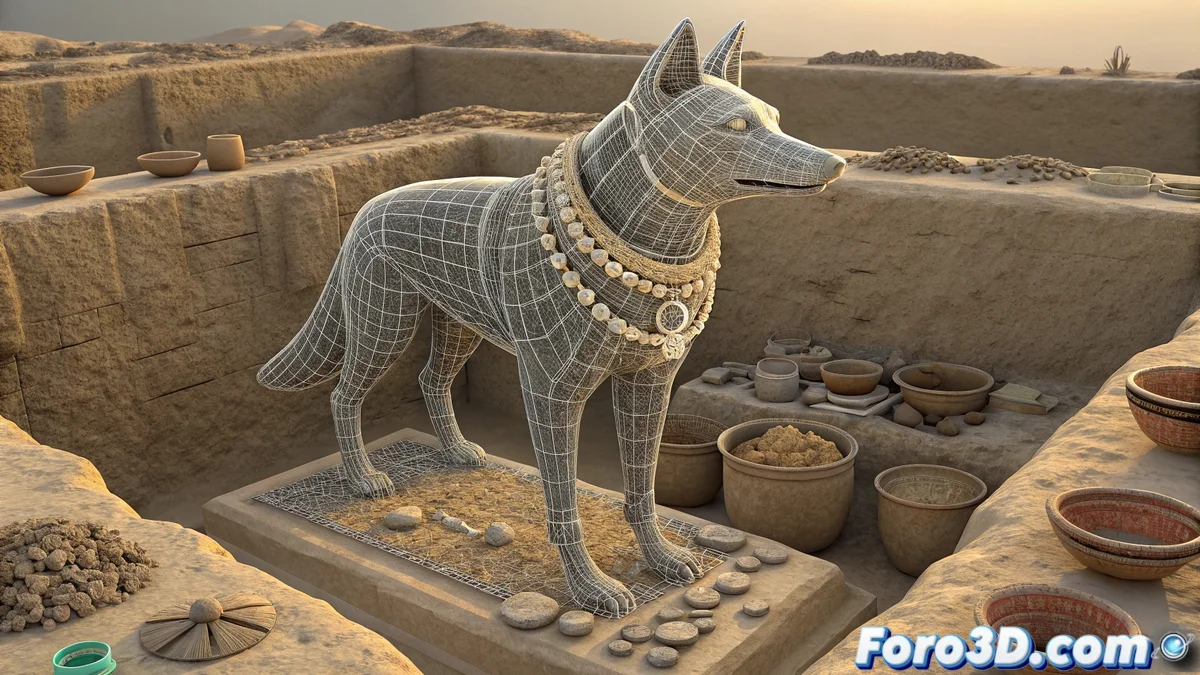
Shaping the Wolf and Its Adornments
Start modeling the wolf using spheres and cubes as a base. Use sculpting tools to define the musculature and proportions, aiming for anatomical realism. For the fur, XGen is an excellent option for generating strands procedurally. The accessories, like the shell collar, can be modeled from extruded curves, adding geometric details inspired by pre-Hispanic art.
Materials That Smell Like History
Assigning the right materials is where the magic happens. For the wolf, use a skin material with normal maps to simulate fur texture. The collar and pectoral should have a subtle shine typical of polished shell. For the ceramic, textures with cracks and earthy tones are essential. Don't forget to add a roughness map to control the shine and make the objects look worn.
Lighting Is Everything
Set up a main light of type Area Light with a warm tone to mimic ambient light. Complement with cooler secondary lights to highlight volumes and specific details. A soft HDRI will help achieve coherent and realistic global illumination, key to immersing the viewer in the discovery atmosphere 🕯️.
Render and Post-Production
For the final render, Arnold or V-Ray are solid options. Set a resolution of 1920x1080 and enable denoising options for a clean finish. In post-production, slightly adjust the color curve toward warm tones, increase contrast for depth, and apply a subtle vignette to focus attention on the offering. And done! Your pre-Hispanic offering is ready to impress the world.
After centuries underground, these objects achieve digital fame, while more than one, in the real museum, struggles to remember their car license plate. 🚗💨