The Eternal Dilemma of 2D Animators: Art vs. Efficiency
Delving into the world of 2D animation is like choosing between meticulous handcrafted art and the magic of digital automation 🎨. On one hand, frame by frame offers absolute control over every line and expression, preserving the artisanal essence of classical animation. On the other, techniques like tweens and keyframes allow for fluid and complex movements in a fraction of the time. The choice isn't about which method is better, but which one is most suitable for the style, deadline, and workflow of each project.
Frame by Frame: The Pure Craftsmanship of Animation
The frame by frame method is the foundational technique of animation. It involves manually drawing each individual frame of the sequence. In software like Adobe Animate (Flash's successor), this is done on timelines where each cell contains a unique drawing. This approach is irreplaceable for animations requiring exaggerated expressiveness, organic shape changes, or a very particular artistic style that depends on the artist's stroke. The downside is the time required; animating a few seconds can take days or even weeks of intensive work.
Animating frame by frame is like sculpting in time; each frame is a chisel strike.
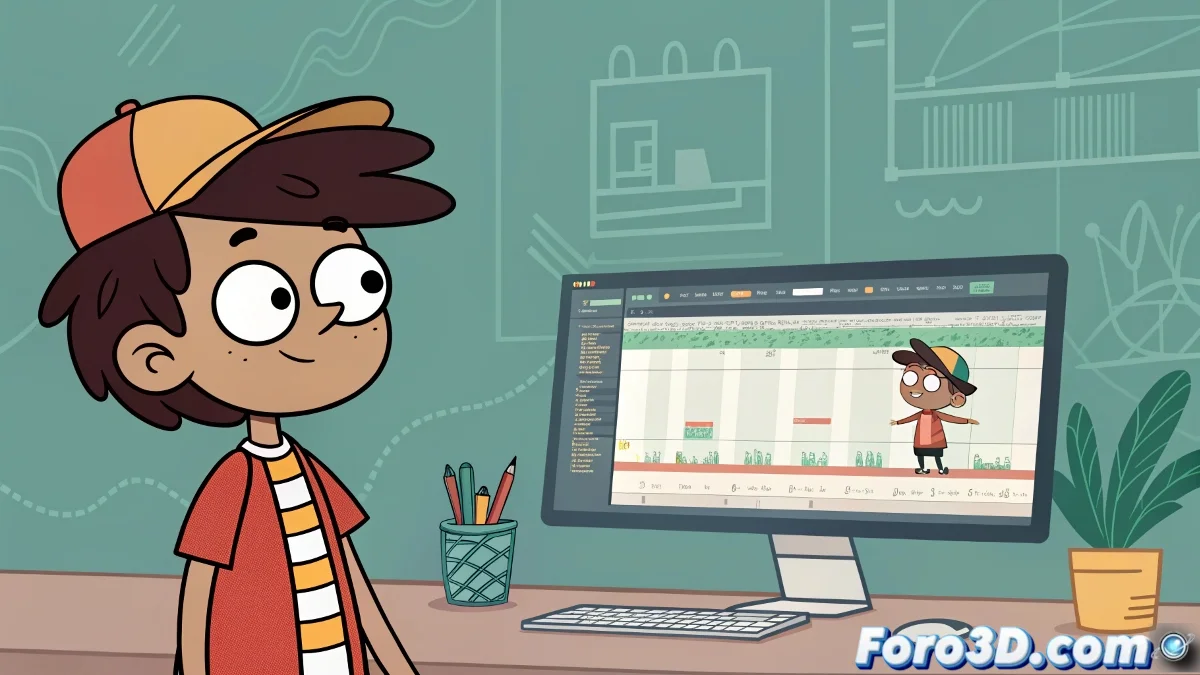
Tweens in Adobe Animate: The Magic of Interpolation
For more efficient animations and more mechanical or repetitive movements, tweens are the answer. In Adobe Animate, a symbol (like an arm or a leg) is created, placed on an initial keyframe, and then on a final one with a different transformation (position, rotation, scale). The software automatically calculates all the intermediate frames, creating a smooth transition. There are two main types: Motion Tweens (for symbol transformations) and Shape Tweens (for vector shape deformations). It's ideal for walk cycles, camera movements, or interface elements.
Keyframes and Rigging in After Effects: Property-Based Animation
Adobe After Effects approaches animation from a different perspective, closer to 3D. Here, drawings aren't animated, but properties. Assets (like character parts previously drawn in Illustrator or Animate) are imported and animated using keyframes on the timeline. For characters, a plugin like DUIK Bassel can be used to create a 2D rig with bones and inverse kinematics controllers (IK), allowing complex character animation like a puppet without redrawing each frame. This method is extremely powerful for integration with video and visual effects.
Combining Techniques for the Best of Both Worlds
Professionals rarely choose just one technique. The most common strategy is a hybrid approach:
- Base with tweens/rigging: create the character's main movement using tweens in Animate or rigging in After Effects.
- Frame by frame details: overlay frame by frame animation layers to add exaggerated facial expressions, wind-blown hair effects, or impact deformations that tweens can't capture.
- Post-production in After Effects: composite the final animation in After Effects to add depth of field, lighting, particle effects, and integration with live-action scenes.
In the end, mastering all these techniques makes you a versatile animator capable of adapting to any style or production demand. And remember, the best method is always the one that allows you to finish the project on time without sacrificing your mental health… or at least, sacrificing it a little less 😉.