How to Simulate Wind Gusts in Cinema 4D
Generating a wind effect with irregular and realistic gusts is a common challenge in 3D animation. In Cinema 4D, you can achieve this by exploiting its simulation systems, either with particles or the dynamics engine. While constant wind is easily achieved, the key to gusts lies in varying its intensity in a non-linear way. 🌬️
Animate Speed and Use Effectors
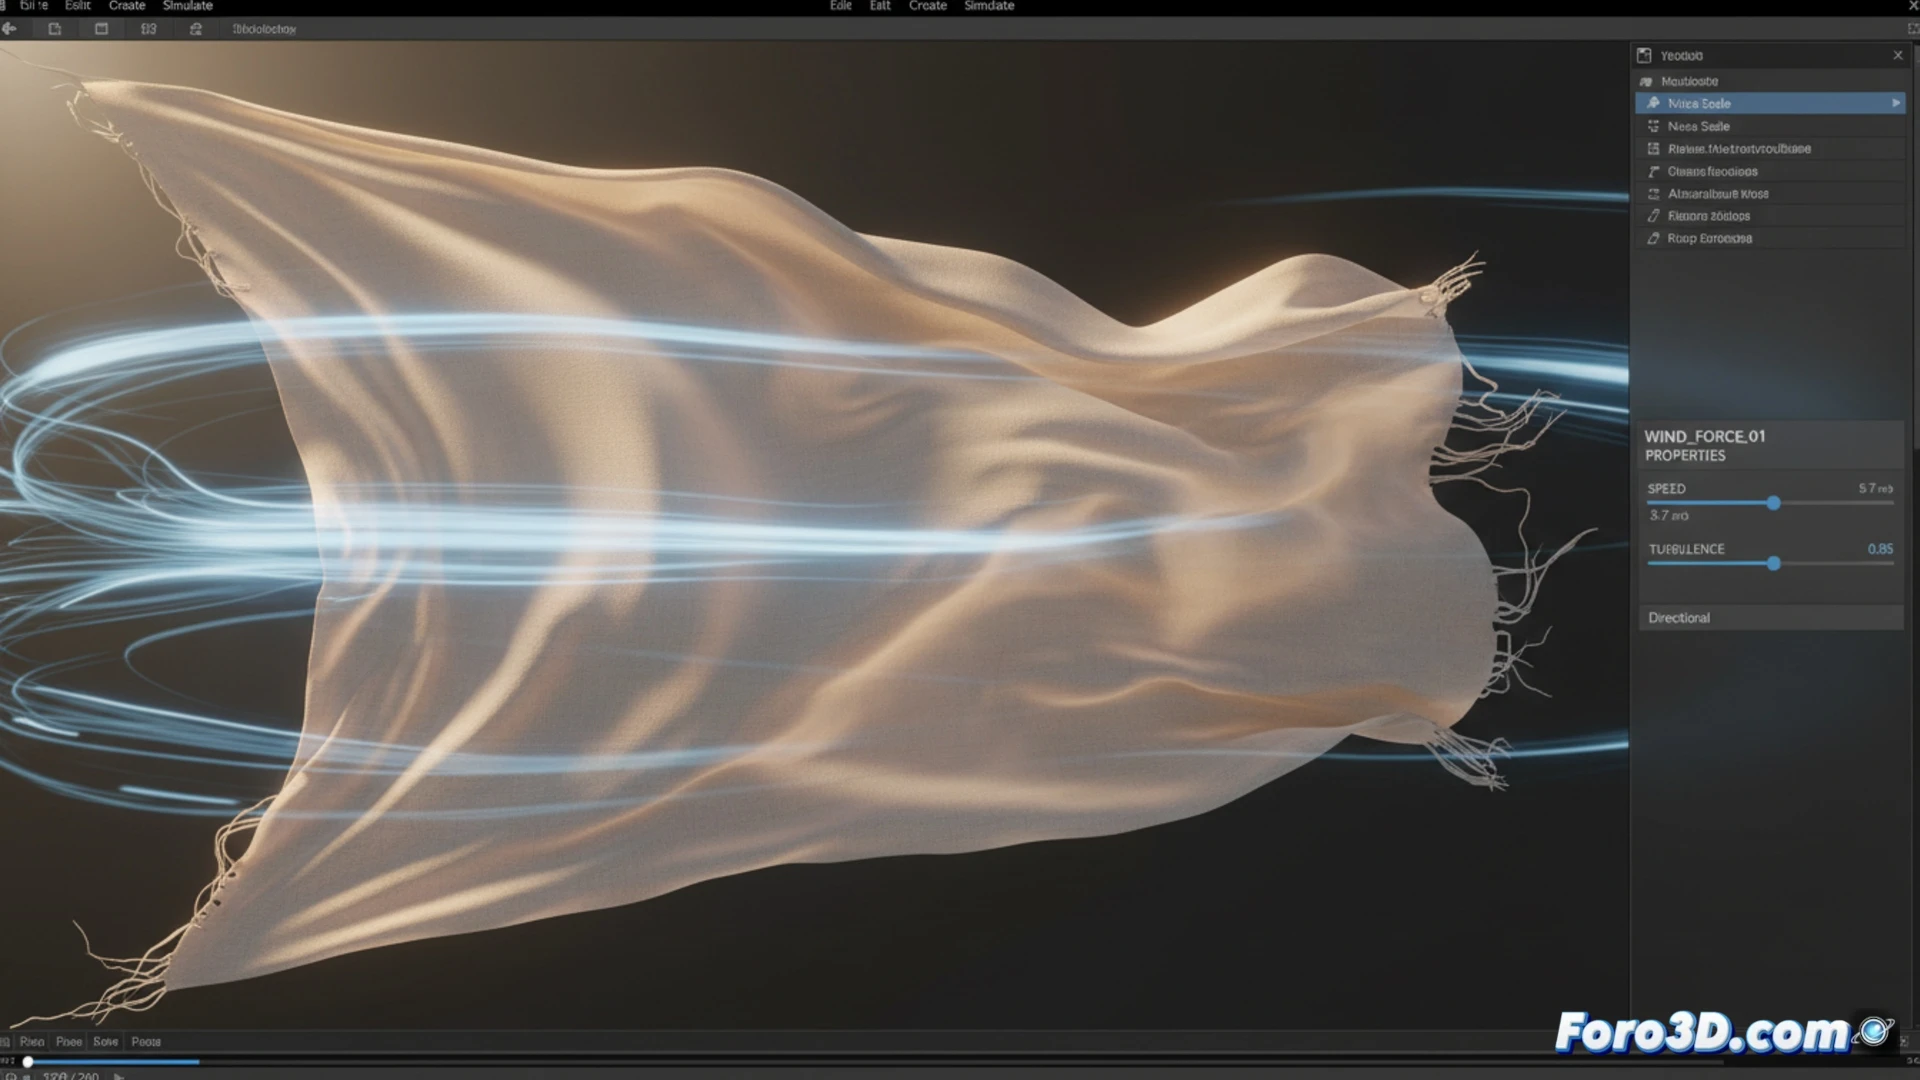
The most basic approach consists of manually animating the Speed parameter within the Wind object. Inserting keyframes with high and low values randomly simulates simple gusts. For more advanced and organic control, incorporate an effector into the workflow. Add a Random or Formula type effector to your scene.
Process to link the effector:- Locate the Force field in the Wind object's settings.
- Drag and drop the name of the created effector into that field.
- The wind intensity will now fluctuate according to the spatial position of the effector, generating a complex and non-repetitive gust pattern.
Using an effector to control the wind force provides spatial variations, avoiding predictable cycles and adding realism to the movement.
Refine with Turbulence and Noise Nodes
To elevate realism, activate the Turbulence option in the Wind object. Modifying its scale and speed introduces non-linear variations in the flow. An even more powerful method involves using a noise shader to control the force.
How to implement noise in the force:- Access the wind's Force field and open the expression editor.
- Connect a noise node (such as Perlin or Turbulence) to this field.
- Adjust the noise parameters to create automatic and complex variations in power, simulating unpredictable gusts.
Crucial Aspects for It to Work
Remember that the Wind object only interacts with geometry that has dynamics tags enabled or particle systems. If an object, like a flag, does not react, check two essential points: that it has a Soft Body or Rigid Body tag applied, and that the Wind object is positioned within its defined influence radius. ✅