How to Connect a Dynamic Shock Absorber to a Motorcycle Chassis in Blender
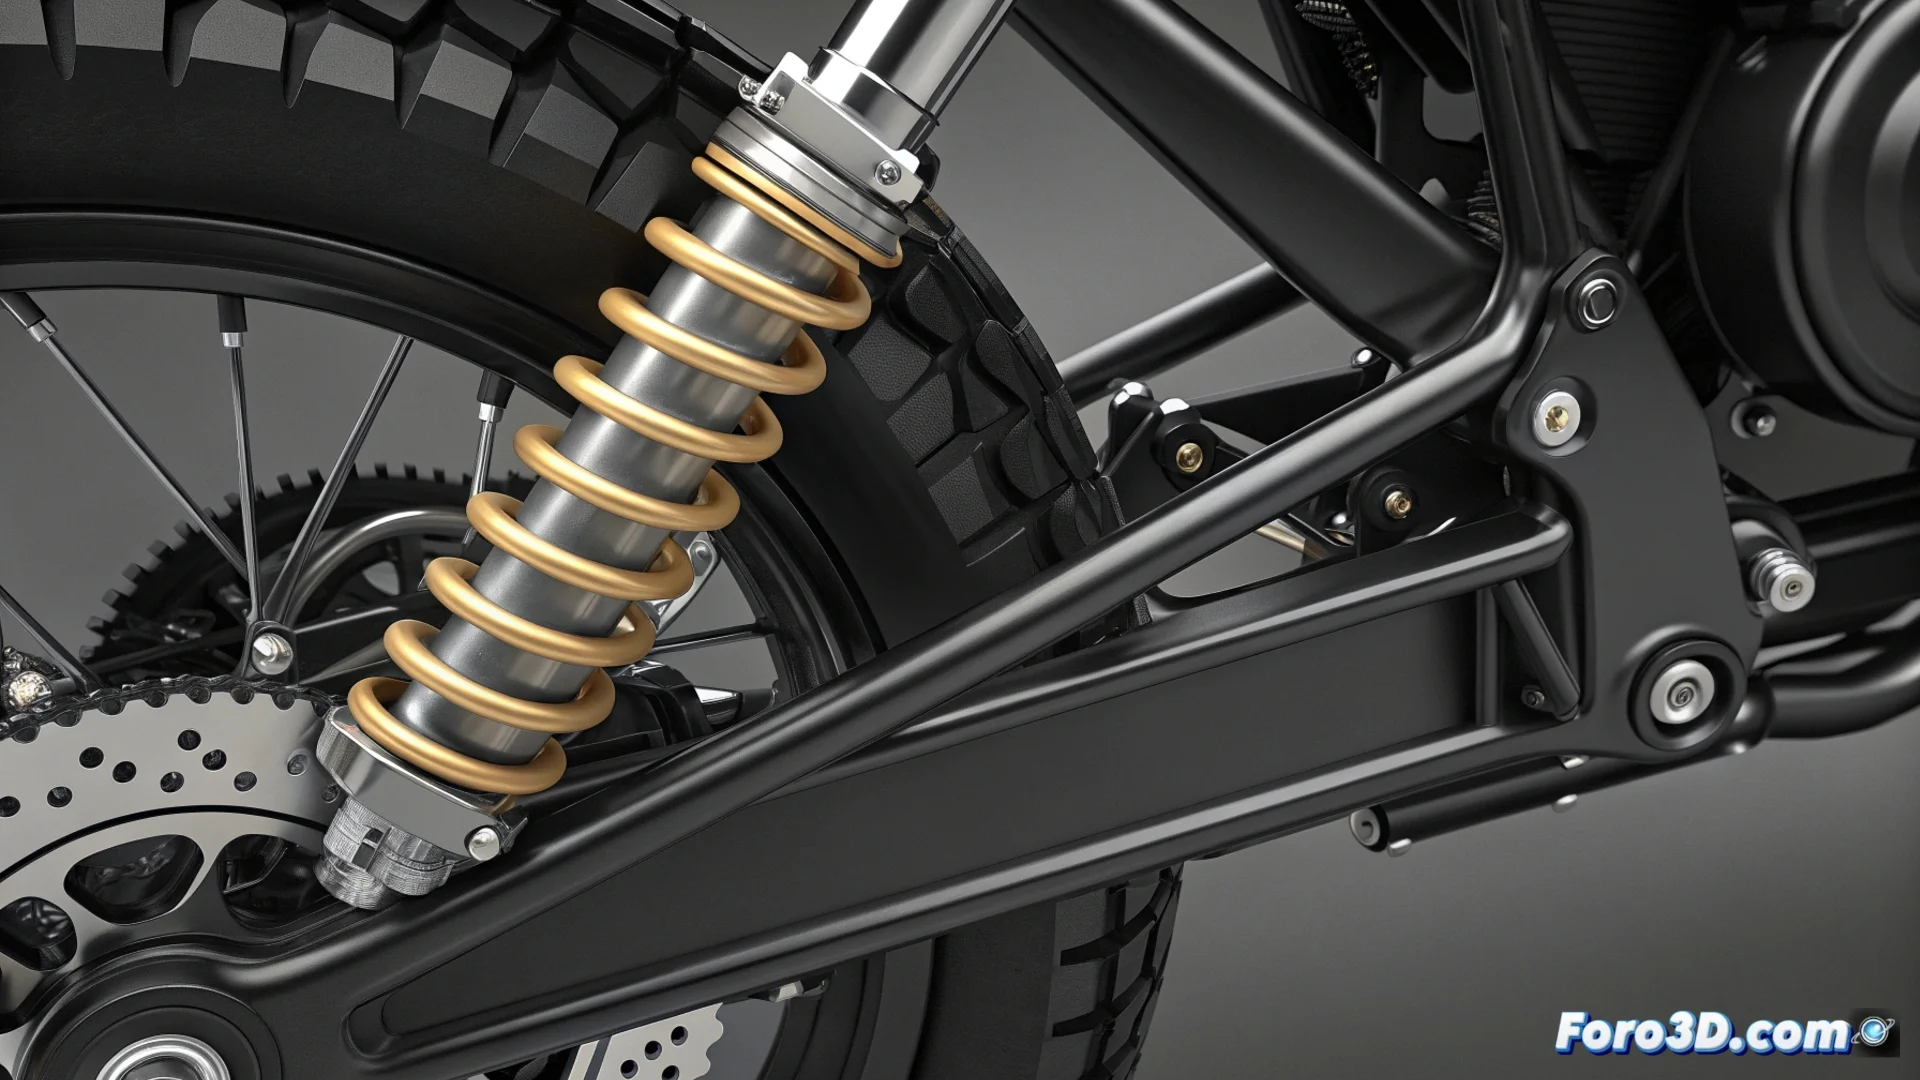
Creating a realistic suspension for a motorcycle in 3D requires precisely connecting the shock absorber to the chassis. This process is key to animating the compression and rebound movement in a believable way. 🏍️
Prepare the Scene and Objects
Before starting, it's crucial to organize your project in Blender. Make sure the chassis and shock absorber models are in their final relative positions. A fundamental step is to correctly define the origins of each object, as this will greatly simplify working with constraints and subsequent animations.
Key initial steps:- Position the chassis and shock absorber in the correct relative location.
- Adjust the origin of each object to a logical point, such as the anchor point.
- Verify that the object scales are applied to avoid strange behaviors.
The biggest challenge sometimes is not simulating the physics, but preventing the digital model from falling apart due to virtual bumps before the real one does.
Use Constraints to Simulate the Link
The most efficient way to establish the connection is through Blender's constraints. Select the shock absorber object and add a Pivot or Stretch To type constraint. Then, direct it towards the chassis object or a specific part of it. Fine-tuning the rotation axes will allow the shock absorber to only rotate or move in the appropriate direction, mimicking the real suspension operation.
Configure the constraint:- Add the 'Pivot' constraint to the shock absorber and assign the chassis as the target.
- Limit the rotation axes (X, Y, Z) to allow only the desired movement.
- Test the manual animation by moving the chassis to verify the behavior.
Advanced Methods with Bones and Controllers
For more detailed and professional control, you can implement a bone system. Create a bone that functions as the joint axis between the chassis and the shock absorber. Then, associate the shock absorber to this bone using Parenting or a Child Of constraint. This technique provides superior flexibility, allowing you to animate the shock absorber independently or using controllers (drivers) to automate its response based on the movement of other parts. 🦴
This approach not only makes the animation more manageable but also opens the door to creating complex and reactive suspension systems, elevating the realism of your motorcycle model to another level.