How to Animate Teeth with Morph in Cinema 4D
Creating realistic facial expressions requires precise control over elements like teeth. In Cinema 4D, the Morph deformer is a key tool for achieving this, allowing smooth transitions between different mouth poses. 🦷
Prepare the Base Geometry and Target
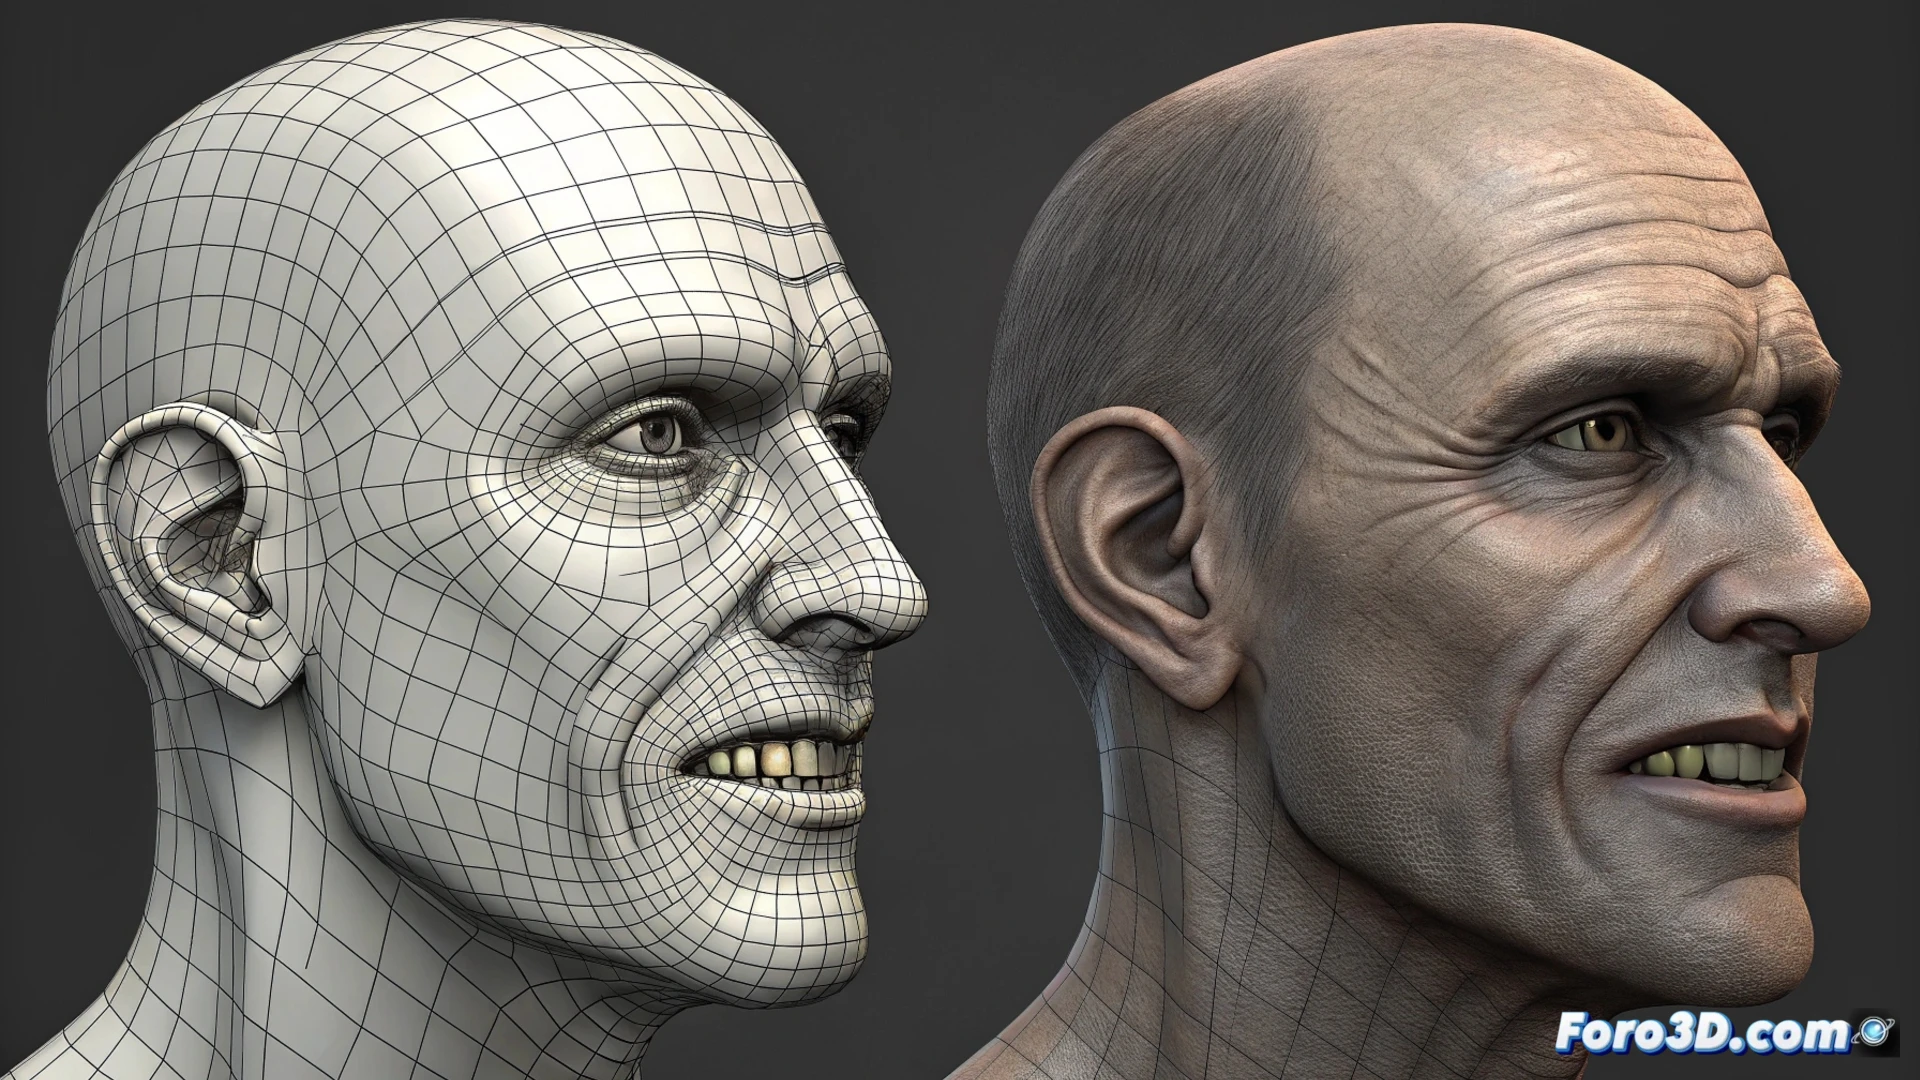
The first step is to have two versions of the model. The first acts as the base pose, typically with the mouth closed. The second version, identical in topology, must modify the geometry to show the mouth open, moving the jaw and teeth independently. It is crucial that the teeth are separate objects to avoid incorrect deformations.
Essential Initial Steps:- Model or import a head with the mouth completely closed.
- Duplicate this model to create the target state and edit the mesh, opening the mouth and repositioning the teeth.
- Ensure both geometries share the same vertex and polygon structure.
A classic mistake that turns a smile into a geometric nightmare is not separating the teeth as independent geometry before creating the morph target.
Set Up and Control the Morph Deformer
Once the geometry is ready, select the base object and add a Morph deformer from the corresponding menu. In its attribute panel, drag the object with the open mouth to the designated target field. Assign a descriptive name and adjust the initial strength parameter.
To animate the mouth opening, you only need to manipulate the morph strength value in the timeline. By varying it between 0% and 100%, Cinema 4D automatically interpolates the vertex positions, generating a smooth movement of the teeth and jaw. 🎬
Tips for Natural Movement:- Integrate the morph within a rig with joints for the jaw if you need more complex and hierarchical control.
- Animate the morph strength simultaneously with other parameters, such as bone rotation, to simulate realistic mechanics.
- Create multiple morph targets for different phonemes or expressions (smile, surprise, etc.) and combine them.
Optimize and Polish the Final Result
To refine the animation, consider using a blend corrector (Mixamo) or additional controllers to manage the influence of multiple morphs. This helps polish transitions and avoid abrupt movements. Always remember to test the animation over a full range to detect possible stretching or artifacts in the dental geometry, which are usually a sign of incorrect initial preparation. Mastering this workflow will allow you to animate detailed and convincing facial expressions. ✨