How to Animate a Sky in 3ds Max: Techniques and Methods
Bringing a sky to life in a 3D scene is fundamental for creating believable outdoor environments. In 3ds Max, there are several strategies, from quick setups with maps to complex simulations with particles. Choosing the right method depends on the level of detail and realism needed for your project. ☁️
Using Environment Maps for Basic Skies
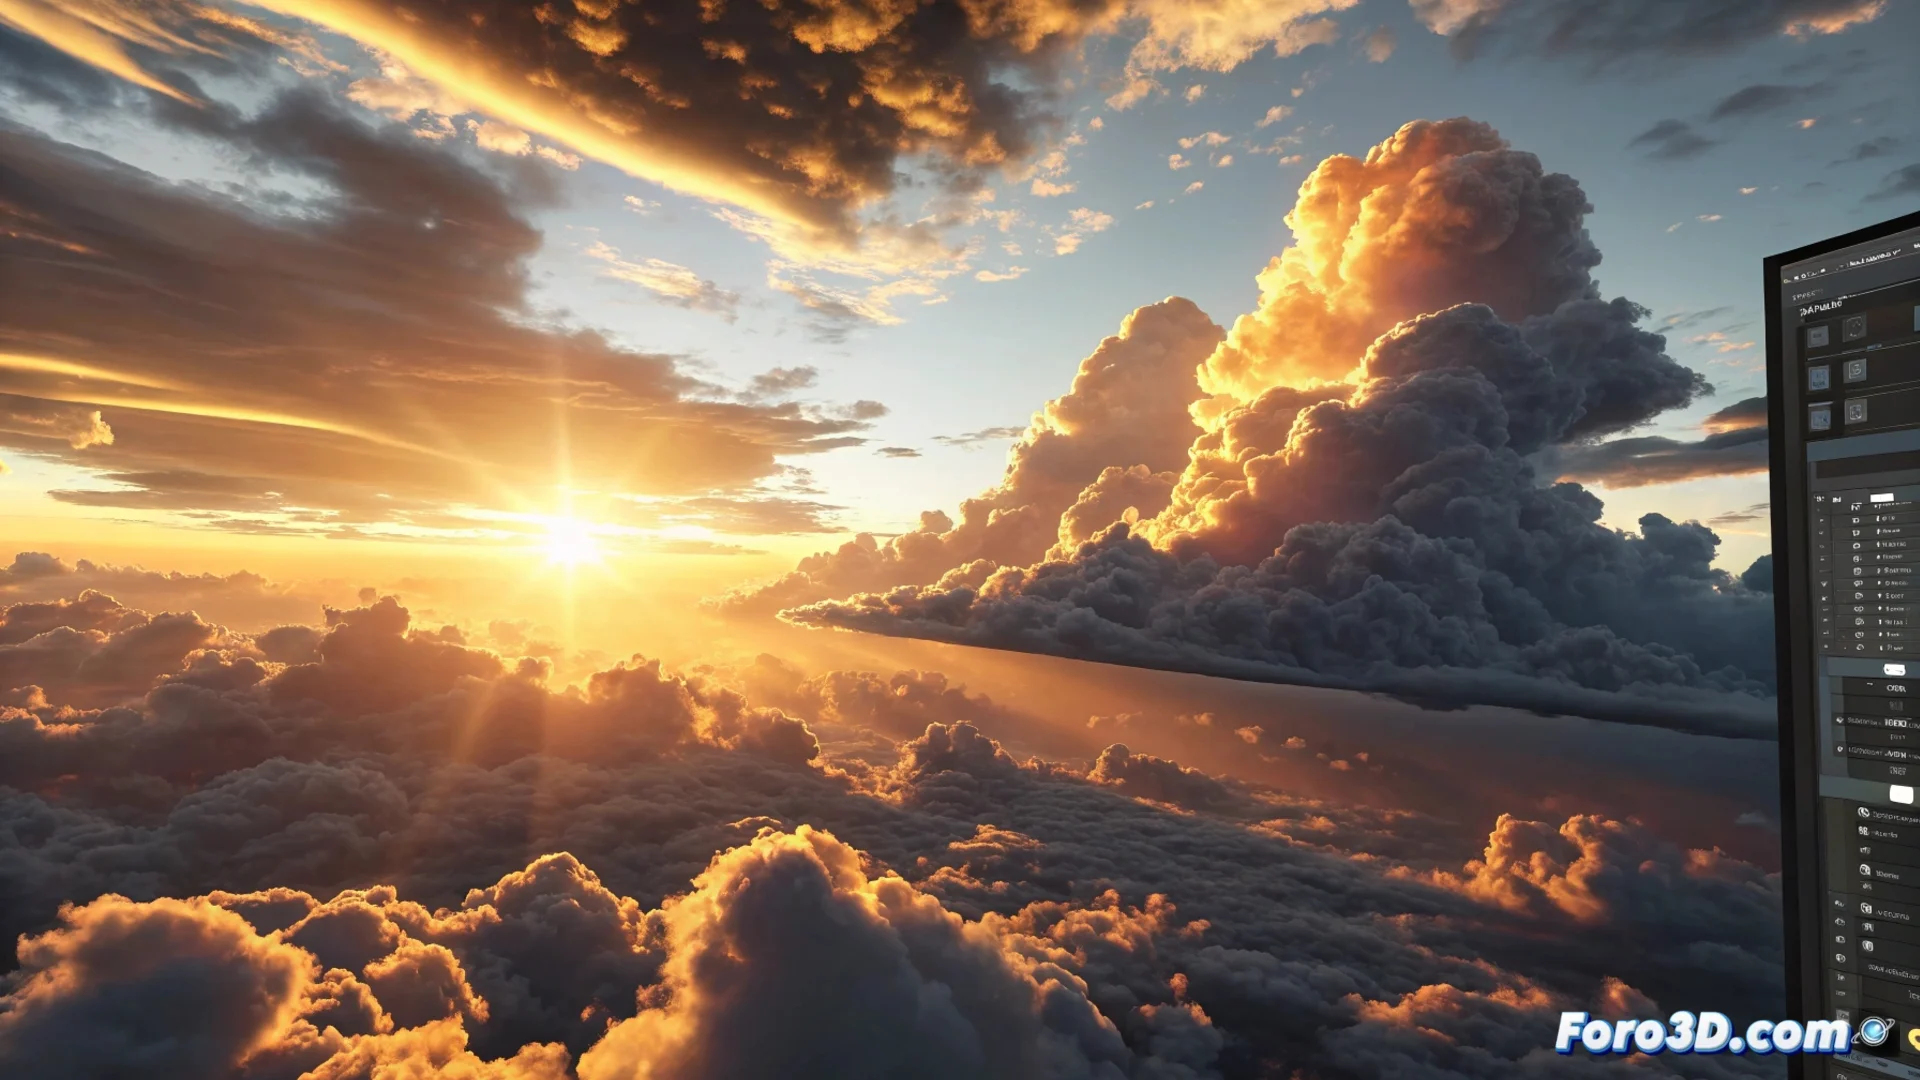
An efficient and quick technique consists of using an environment map with a specialized material. You can create an Arch & Design type material and assign a Sky map in the corresponding slot. The animation is achieved by modifying key parameters, such as the sun position or the simulated time within the map, which automatically generates the illusion of the passage of time. This approach is ideal for general views where the sky is not the main protagonist.
Main steps for this method:- Create and assign an Arch & Design material to the sky sphere or geometry.
- Insert a Sky map in the material's environment slot.
- Activate animation (Auto Key) and change the sun rotation or time values along the timeline.
An animated sky with predefined maps can save a lot of rendering time compared to heavier solutions.
Simulating Dynamic Clouds with Particles and Effects
To achieve skies with greater dynamism, where clouds move organically, it is recommended to use particle systems. Tools like Particle Flow (PFlow) or FumeFX allow simulating volumetric cloud masses. The idea is to generate particles to which a cloud texture is assigned and then direct them along a defined path. Adjusting the scale, density, and emission speed gives you total control over the movement and shape of the clouds. Adding forces like Wind helps make the flow appear more natural and random. 🌬️
Elements to configure in a particle system for clouds:- Define the shape and emission rate of the particles.
- Apply a texture or material with transparency that simulates a cloud.
- Use a Space Warp of the Wind type to influence direction and turbulence.
- Animate the emitter position or wind force over time.
Integrating Lighting and Atmosphere for Greater Realism
Lighting is a critical component to seal the believability of an animated sky. It is essential to animate the intensity and tonal color of the sunlight to recreate moments of the day like sunrises or sunsets. Complementing with atmospheric effects like Volume Light or Environment Fog adds depth and density to the air. Animating parameters such as fog density or the volumetric light scattering coefficient contributes significantly to the feeling of a living and changing environment. To synchronize all these elements efficiently, you can link their parameters to a master controller. 🌅
A practical final tip: plan the sky animation speed based on your render farm's capacity. If the movement is too fast or complex, frame processing times can skyrocket, making you wait much longer than expected for results. The key is to balance visual detail with rendering efficiency.