How to Animate a Run, a Jump, and a Landing in Blender
Bringing a running and jumping character to life requires planning the movement and polishing the details to convey realism and energy. This process is based on defining essential poses and then smoothing the transitions between them to achieve fluidity. 🏃♂️
Setting Up the Rig and Main Action Points
Before starting, make sure your model's rig is ready. The first step is to mark the keyframes that define the complete action: the start of the run, the moment of push-off, the peak of the jump, and the instant of touching the ground. Then, open the curve editor to adjust how these poses are interpolated, allowing the movement to be smooth and gain naturalness.
Essential points to mark:- Start of the run: Establish the initial pose from where the character begins to accelerate.
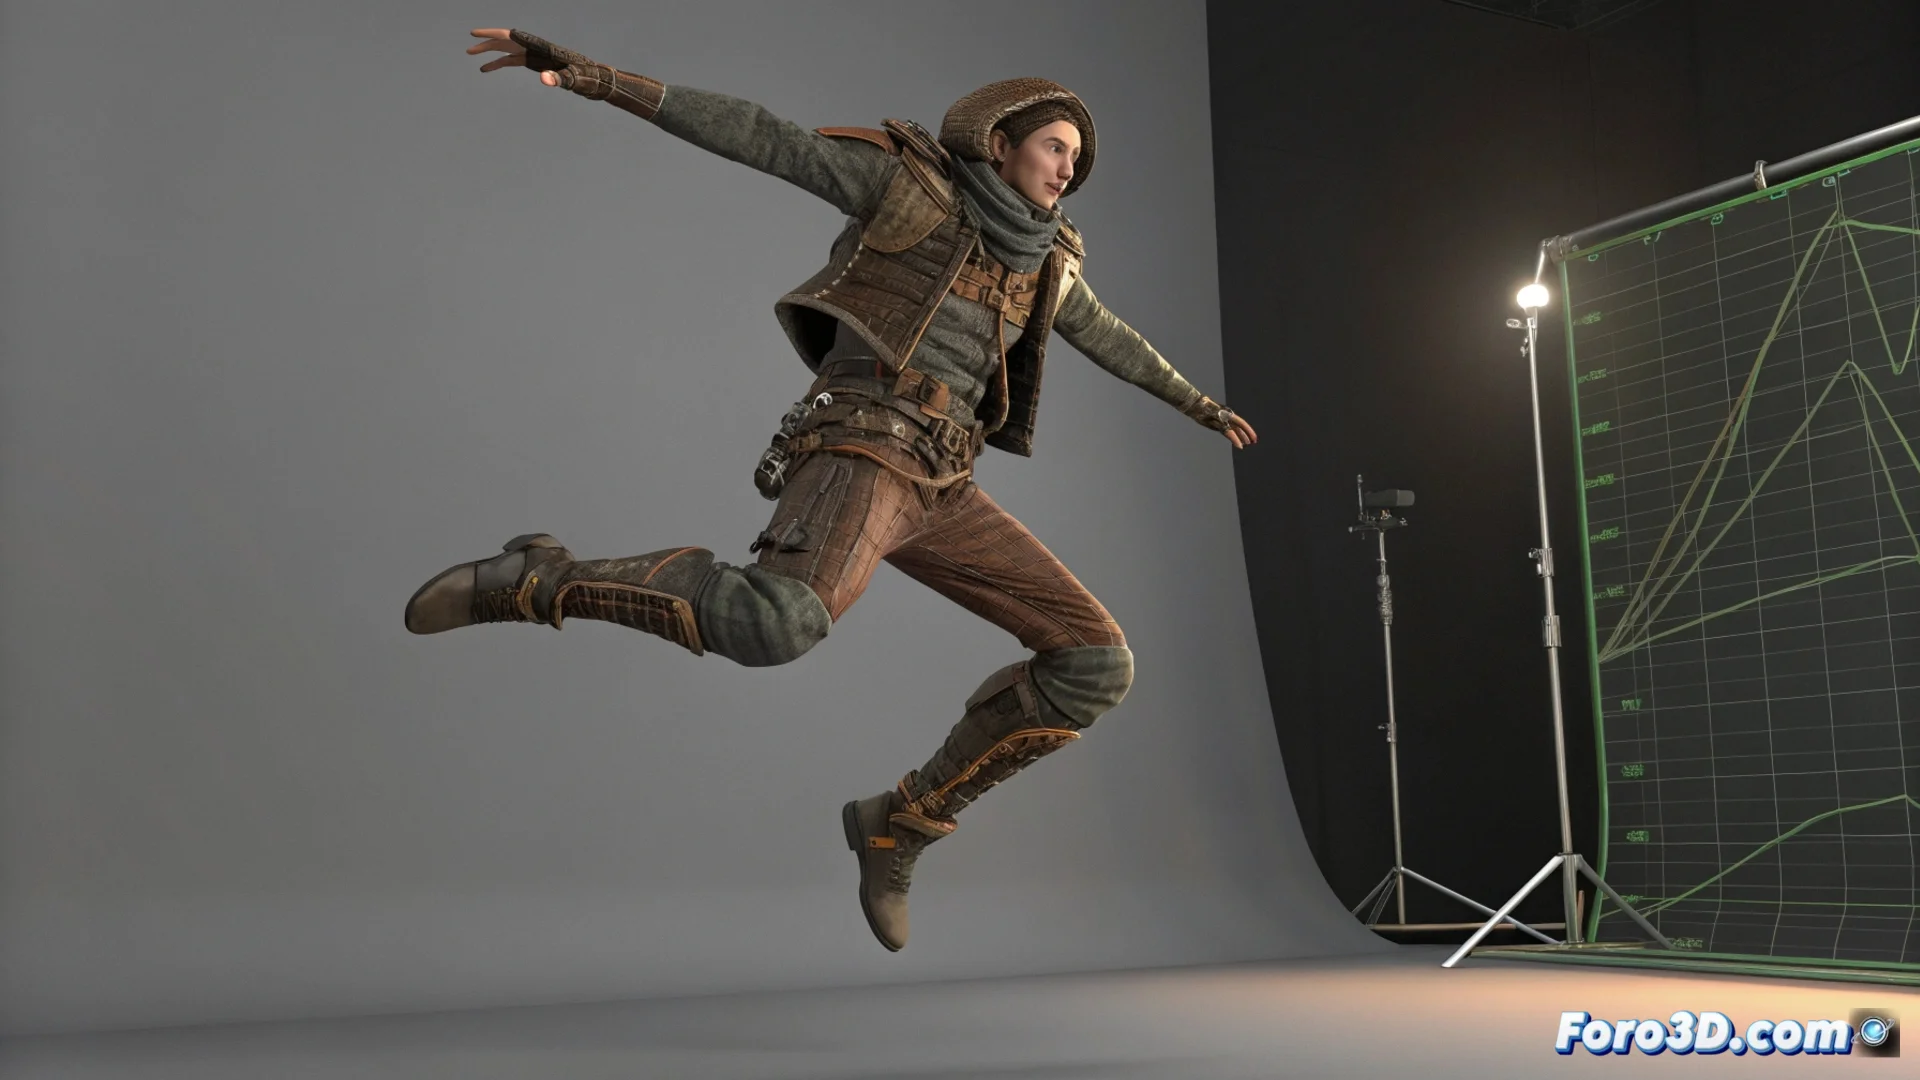
- Jump push-off: Moment when the feet leave the ground, with the body compressed.
- Highest point: The pose in the air where gravity begins to act.
- Ground contact: The frame where the feet make contact again, key for the impact.
The goal is not just for the character to move up and down, but for the viewer to perceive the effort of the push-off and the force of the impact upon landing.
Developing the Run Cycle and Jump Preparation
Start by creating a basic walk cycle. To transform it into a run, increase the speed and exaggerate the arm swing and stride. A fundamental principle here is anticipation: just before jumping, add frames where the character flexes downward, accumulating potential energy. This adds weight to the action and makes the subsequent jump seem more powerful and believable.
Steps for this segment:- Create a walk cycle and accelerate its rhythm to turn it into a run.
- Exaggerate the limb movements to convey greater speed and force.
- Insert anticipation frames where the character crouches before pushing off.
Bringing the Flight and Landing to Life with a Sense of Weight
During the flight phase, animate the body in an extended pose. For the landing, it is crucial to show the impact: the legs must flex noticeably to absorb the force of the fall. Modify the Z-axis motion curve to simulate realistic gravitational acceleration. Finally, review the entire sequence from multiple angles in the 3D viewport to verify that the sense of weight and balance is correct in each stage. ✨
A good indicator that your animation works is if, when watching it, you can almost feel the effort in the character's joints. If you achieve that effect, you're on the right track.