How to Animate a Model in Blender: Methods and Workflow
Giving movement to a 3D model is not a single process; the path to follow depends entirely on the result you want to achieve 🎯. For organic figures like characters, the most widespread technique is using a bone system or rig. This structure acts as an internal skeleton that deforms the model's mesh in a controlled manner. For mechanical or simple elements, it is often more direct to manipulate their basic transformations on the timeline.
Essential Preparations Before Animating
Before inserting the first keyframe, it is vital to prepare your model. This ensures it moves credibly and without visual artifacts. For characters, building a robust rig with bones, visual controllers, and deformation correctors is the fundamental step. The vertex weight assignment to the bones determines how the mesh stretches and compresses, being crucial for natural movement.
Key Points in Preparation:- Create a clean topology, especially in bending areas like elbows and knees.
- Build a logical bone hierarchy and add controllers to manipulate them easily.
- Paint vertex weights precisely to avoid pinching or strange deformations.
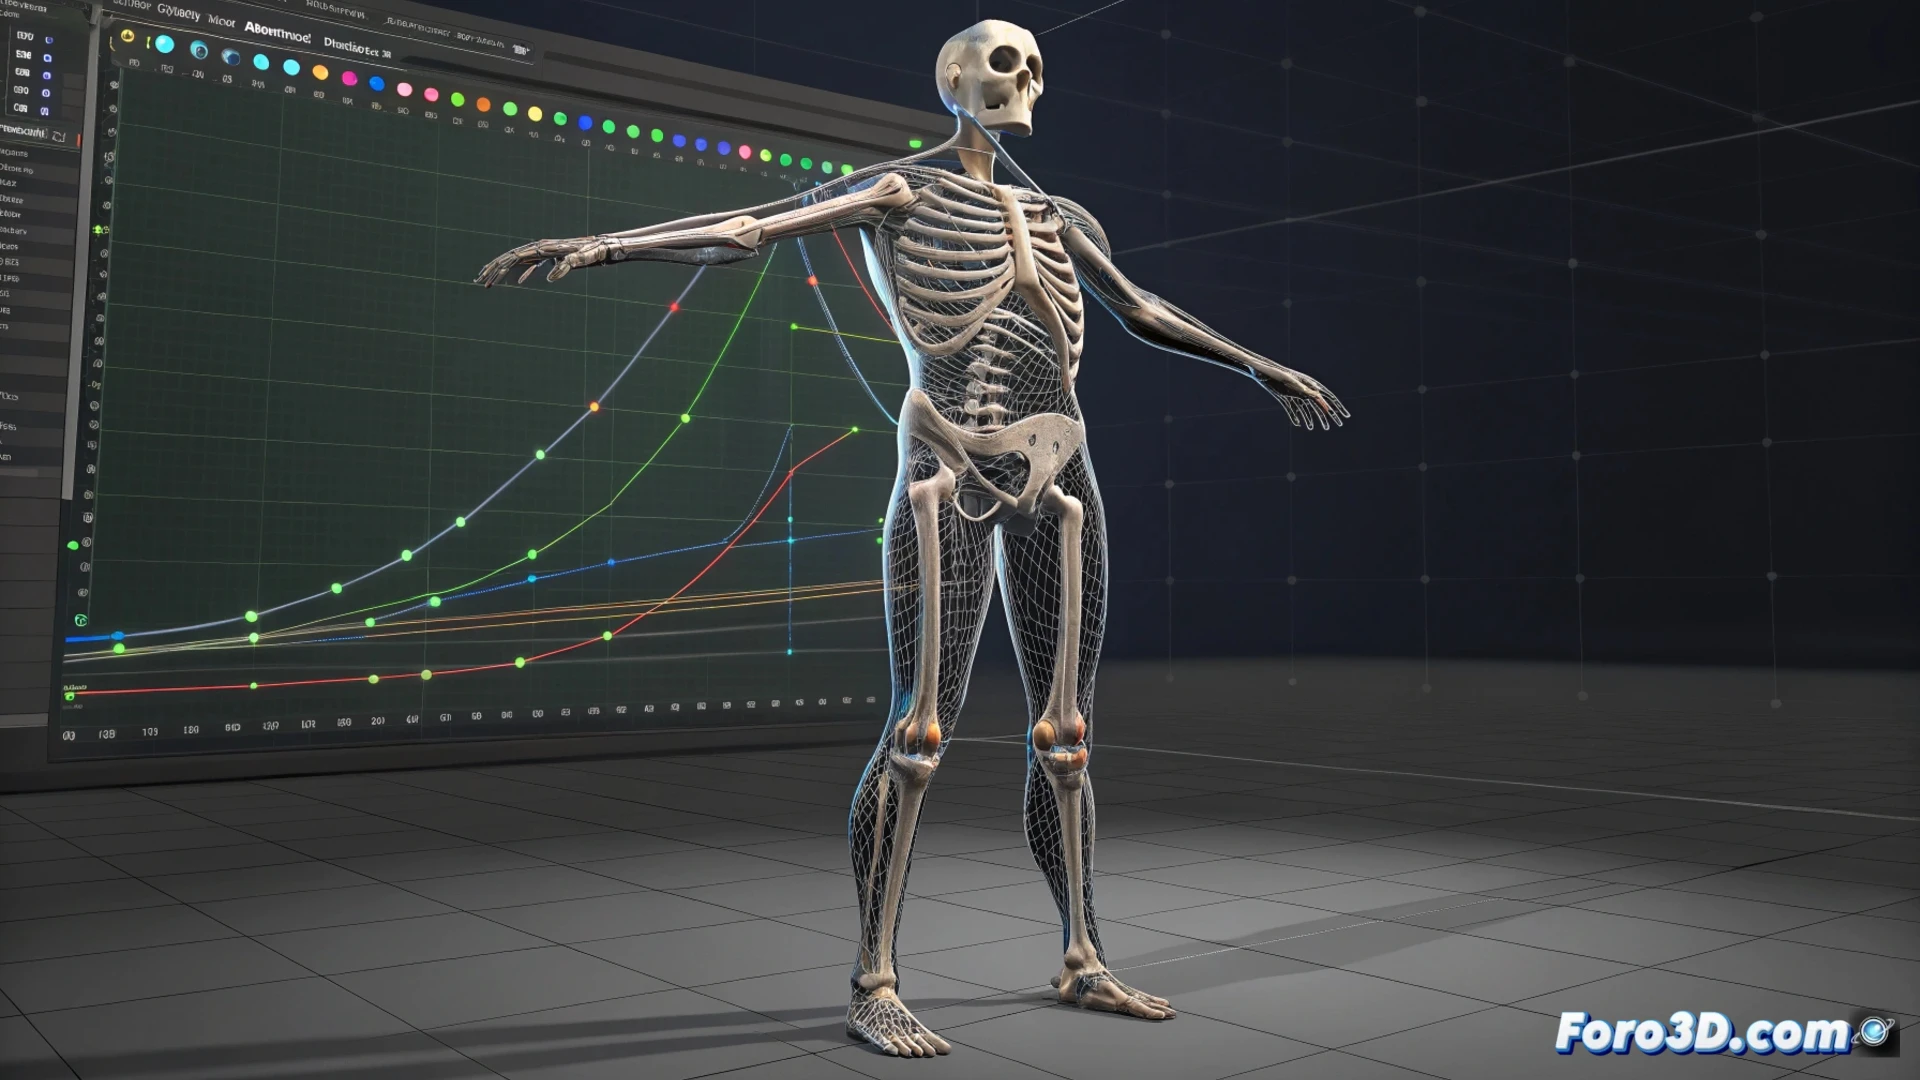
Animating is like negotiating with your model; sometimes it insists on moving like a dancing spaghetti, and you must patiently guide it in the Graph Editor.
Tools to Bring to Life: Keyframes and Editors
The heart of digital animation beats with keyframes. These key frames define the position, rotation, and scale of the model at specific moments. Blender offers specialized editors to handle this information. The Dope Sheet provides an overview of all keyframes, ideal for adjusting their timing. The Graph Editor is where the soul of the movement is refined, allowing editing of interpolation curves to smooth transitions or add force.
Main Editors in Blender:- Dope Sheet: Organizes and manipulates keyframes on a clear timeline.
- Graph Editor: Controls the fluidity and dynamics of movement by editing animation curves.
- Cycles Tool: Repeats animation sequences, like a walk cycle, saving a lot of work.
Conclusion on the Process
Mastering animation in Blender involves understanding which method to apply and how to prepare your assets. Whether through a complex rig for a character or direct transformations for an object, the foundation is a well-built mesh. The real magic happens afterward, in the meticulous work of placing keyframes and refining each curve in the Graph Editor to inject personality and life into your digital creations ✨.