How to Animate a Character and Their Clothing in 3ds Max
Bringing a three-dimensional model to life requires a structured workflow. This process goes beyond moving a skeleton; it involves preparing the model, creating a functional rig, and, for complete realism, simulating secondary elements like clothing. Achieving harmonious movement of everything is the ultimate goal. 🎬
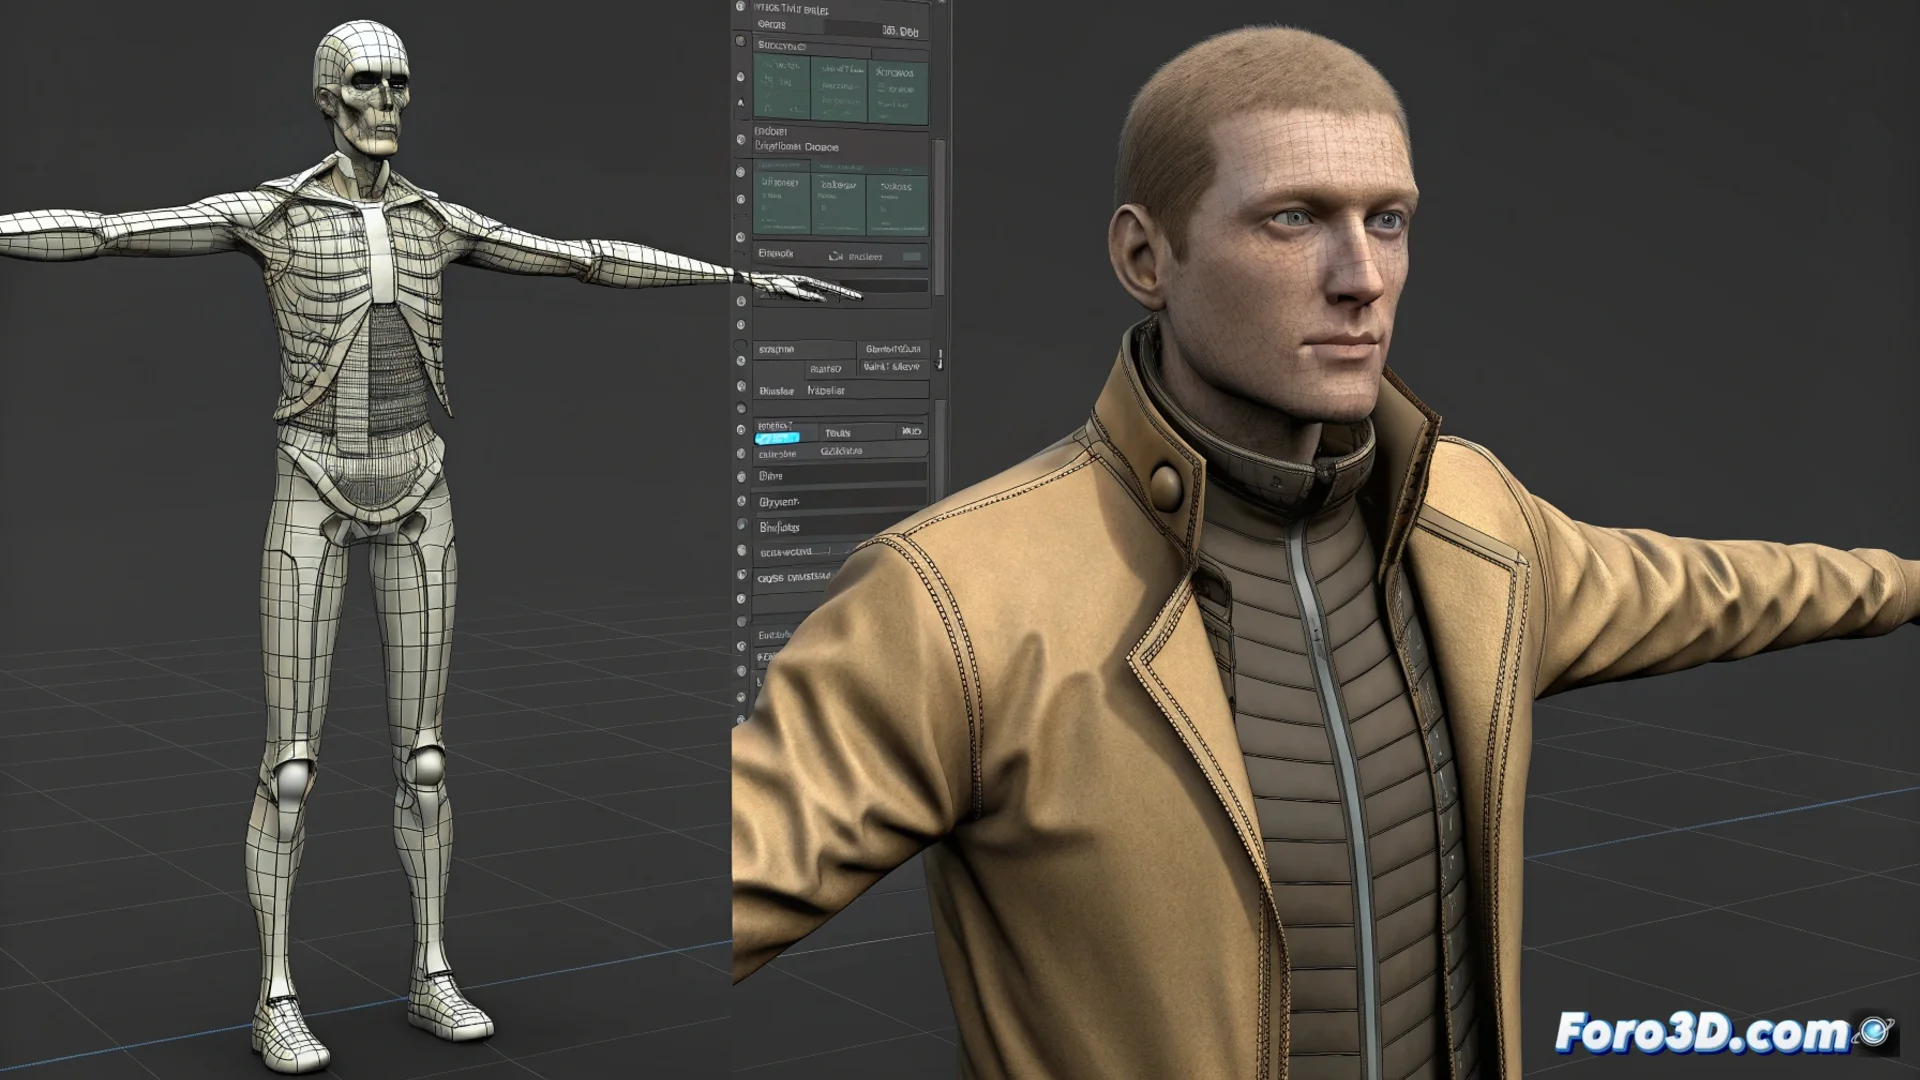
Prepare the Model and Build the Skeleton
Before starting to animate, it is essential that the character's mesh is ready. It must have a clean and suitable topology to deform correctly without artifacts. The next step is to build the structure that will govern the movement: the skeleton. In 3ds Max, you can choose between a preconfigured Biped system or create custom bones (Bones) that adapt to the anatomy of your creation. The link between the mesh and this skeleton is done through the Skin modifier, where you will paint the influence weights to define how each bone affects the geometry, especially in critical areas like elbows and knees.
Key steps for the animation base:- Review and clean the mesh topology to ensure clean deformations.
- Create and adjust a bone system (Biped or Bones) that follows the character's silhouette.
- Apply and configure the Skin modifier, painting weights precisely in the joints.
Patience is essential; sometimes the fabric will decide to follow its own rhythm, independent of the character.
Simulate Clothing Movement Dynamically
For the clothing to come to life realistically, the most effective approach is to use physics simulations. Apply the Cloth modifier to the mesh representing the garment. Here you must define which vertices are "stitched" to the character's body (like the shoulders of a jacket) and allow the rest of the fabric to react to forces like gravity. Setting up collisions is vital to prevent the fabric from penetrating the body mesh. For tighter garments, an excellent alternative is the Skin Wrap modifier, which allows the clothing to follow the character's base animation but with a controllable slack margin, ideal for hoodies or fitted suits. 👕
Setting up the cloth simulation:- Use the Cloth modifier to generate realistic dynamics in garments.
- Define anchor vertices and configure collision properties with the body.
- Employ Skin Wrap for fitted garments that need to follow the animation with flexibility.
Polish and Finalize the Animated Sequence
Once the clothing simulation works, it's time to refine and optimize. The resulting mesh from the simulation can be dense; it is useful to optimize its geometry. If you need absolute control, you can convert the simulation to editable keyframes. Using the simulation cache will allow you to preview without having to recalculate every time, saving time. Thoroughly review the complete animation, paying attention to ensure that the fabric folds look natural in extreme poses and adjust parameters like stiffness or damping. Finally, integrate all elements into a single scene and perform exhaustive tests to ensure movement coherence. ✅