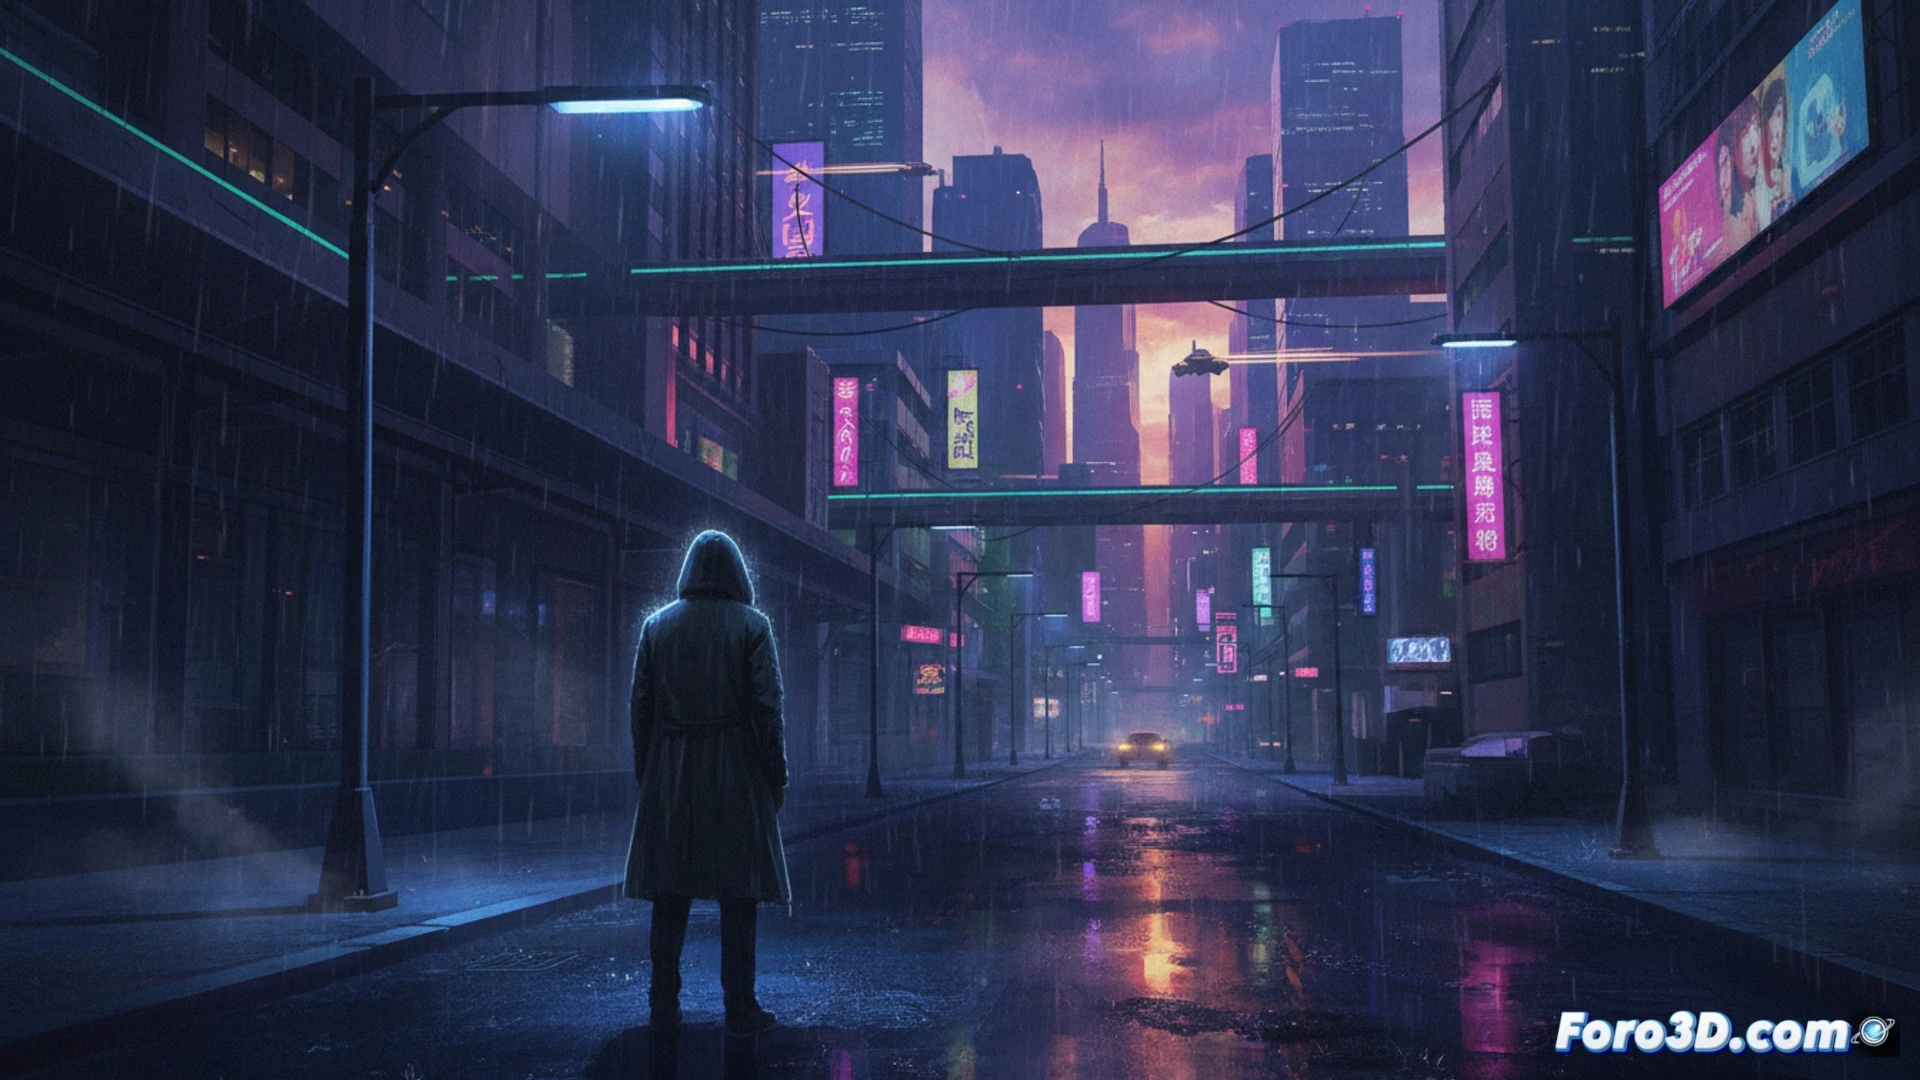
Cyberpunk is not just neon and action; it has an introspective and rainy side. This tutorial focuses on building that atmosphere of urban solitude and technological melancholy using Gimp. We will start from a common urban photo to transform it into a scene where artificial light reflects on the wet asphalt and tall buildings generate a sense of unease. The goal is to convey that heavy calm of the city after the downpour.
Adjustment Layers and Digital Rain Brushes 🌧️
The process begins with color adjustments. Use Adjustment Layers > Curves to push the tones towards cyan and magentas, muting the greens and yellows. Lower the overall saturation and increase the contrast to darken the shadows. For the rain, create a new layer in Overlay or Texture mode. With a small and hard white brush, draw scattered straight lines with different opacity. Apply a light motion blur and adjust the layer opacity to blend it in. The reflections on the ground are achieved by duplicating and distorting the sign lights.
When Your Render Takes Longer Than a Neotokian Metro Ride 🌀
The technical part has a particular charm. While you apply the tenth noise filter to simulate the static of a faulty hologram, your computer starts sounding like a cooling tower fan. It's the moment to reflect: you're investing real resources to simulate the wear of a fictional world. There's a certain poetry in the fact that, to create that aesthetic of technological decay, your machine protests and heats up so literally. It's a complete immersion; you could say that even your hardware is in character.