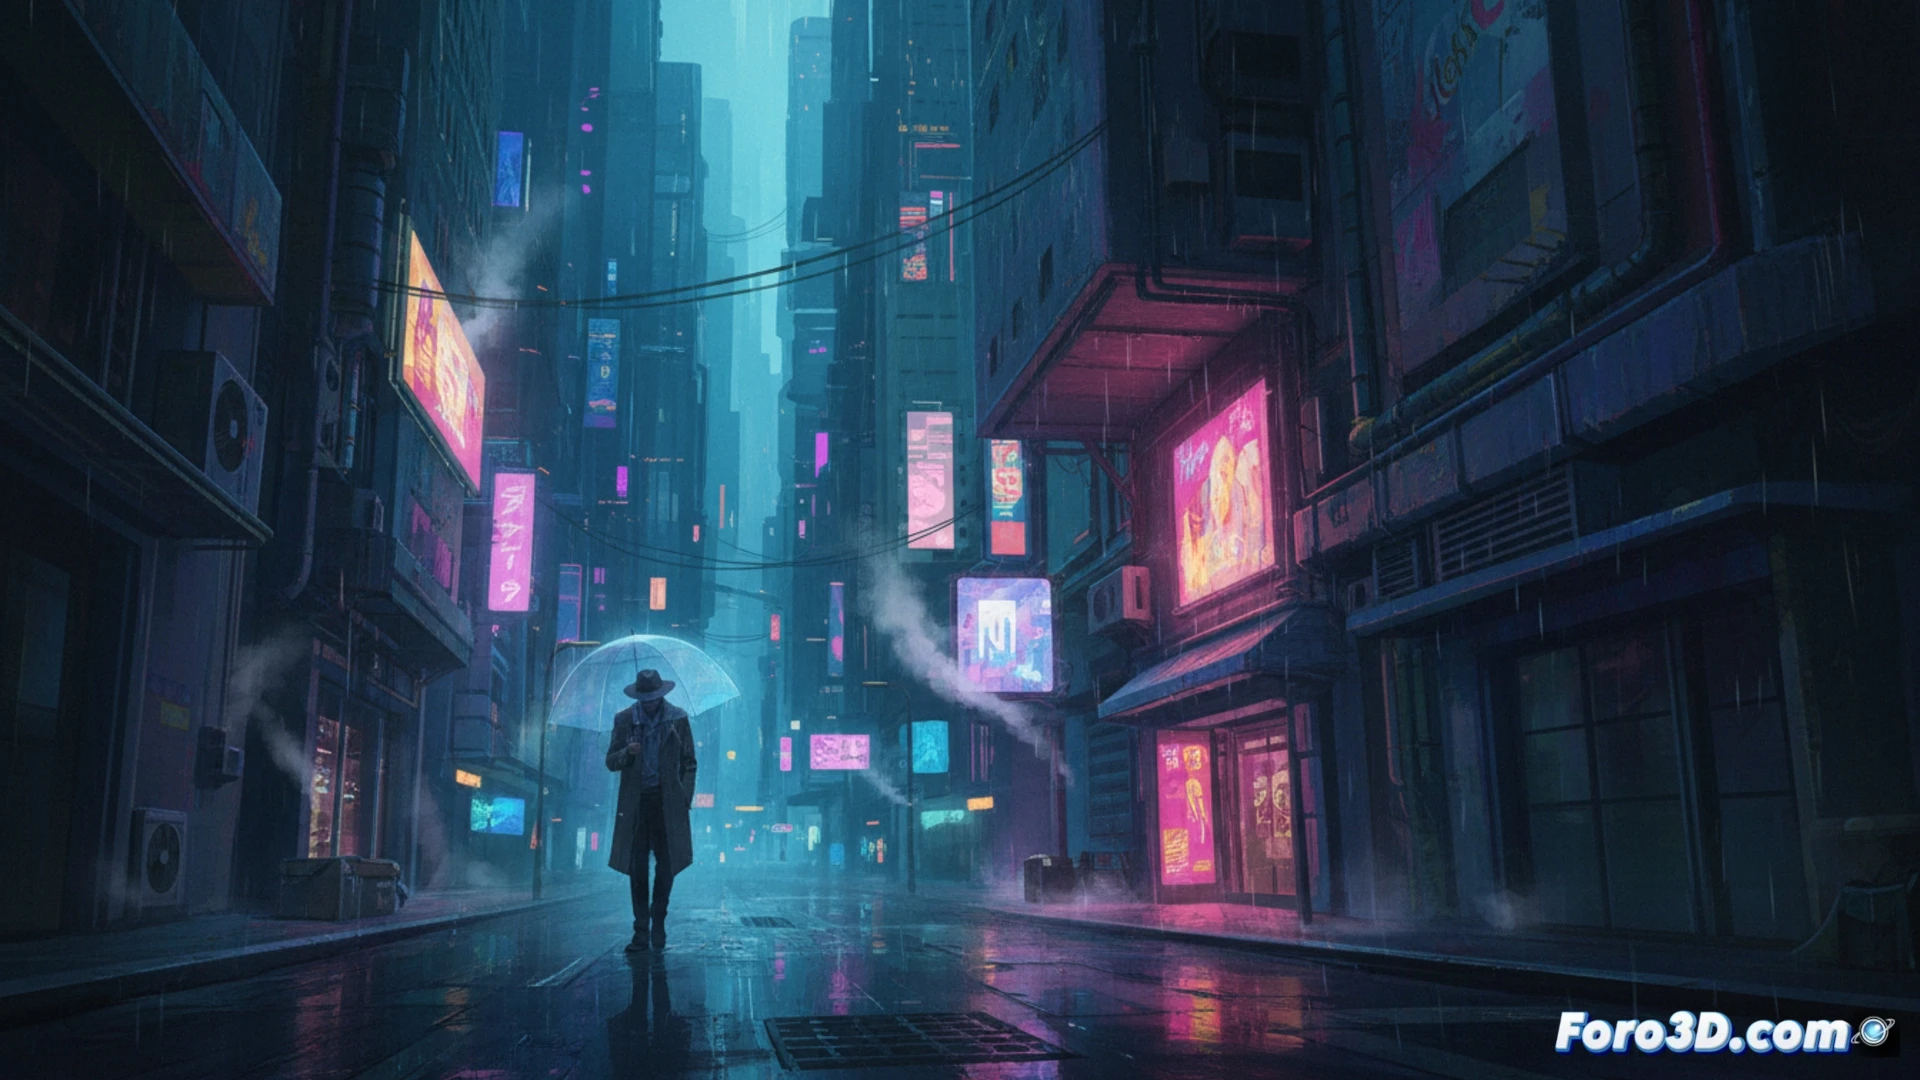
Cyberpunk is not just neon and action. Its melancholic side explores loneliness in the technological metropolis. This tutorial focuses on building that atmosphere: wet streets, isolated characters, and a light that mixes artificial glow with dimness. We'll see how to use adjustment layers and brushes to evoke that feeling of a dystopian and nostalgic future.
Workflows with Adjustment Layers and Blending ⚙️
The base is a palette of cyan, magenta, and muted oranges. Start with a background gradient. Add a Curves adjustment layer to deepen the blacks and flatten the contrast. Use the Soft Light blending mode on cyan tone layers for the lights. Rain is simulated with a Noise filter and motion blur. Neon signs are brush strokes with a layer style of Outer Glow in Overlay mode.
When Your Character Has More Layers Than Your PSD 😅
It's common for the solitary android in your scene to look more complex and nuanced than the Photoshop file itself. While it reflects on its lost humanity among pixels, you're ten minutes away from the program freezing due to having ten thousand unnamed layers. The existential tragedy is double: its in the image, and yours when trying to save in .psb.