Animating Characters for Cinema with Blender
Blender provides a comprehensive workflow to bring characters to life for animated cinematic productions. This process spans from preparing the three-dimensional model to generating the final sequence ready for compositing. 🎬
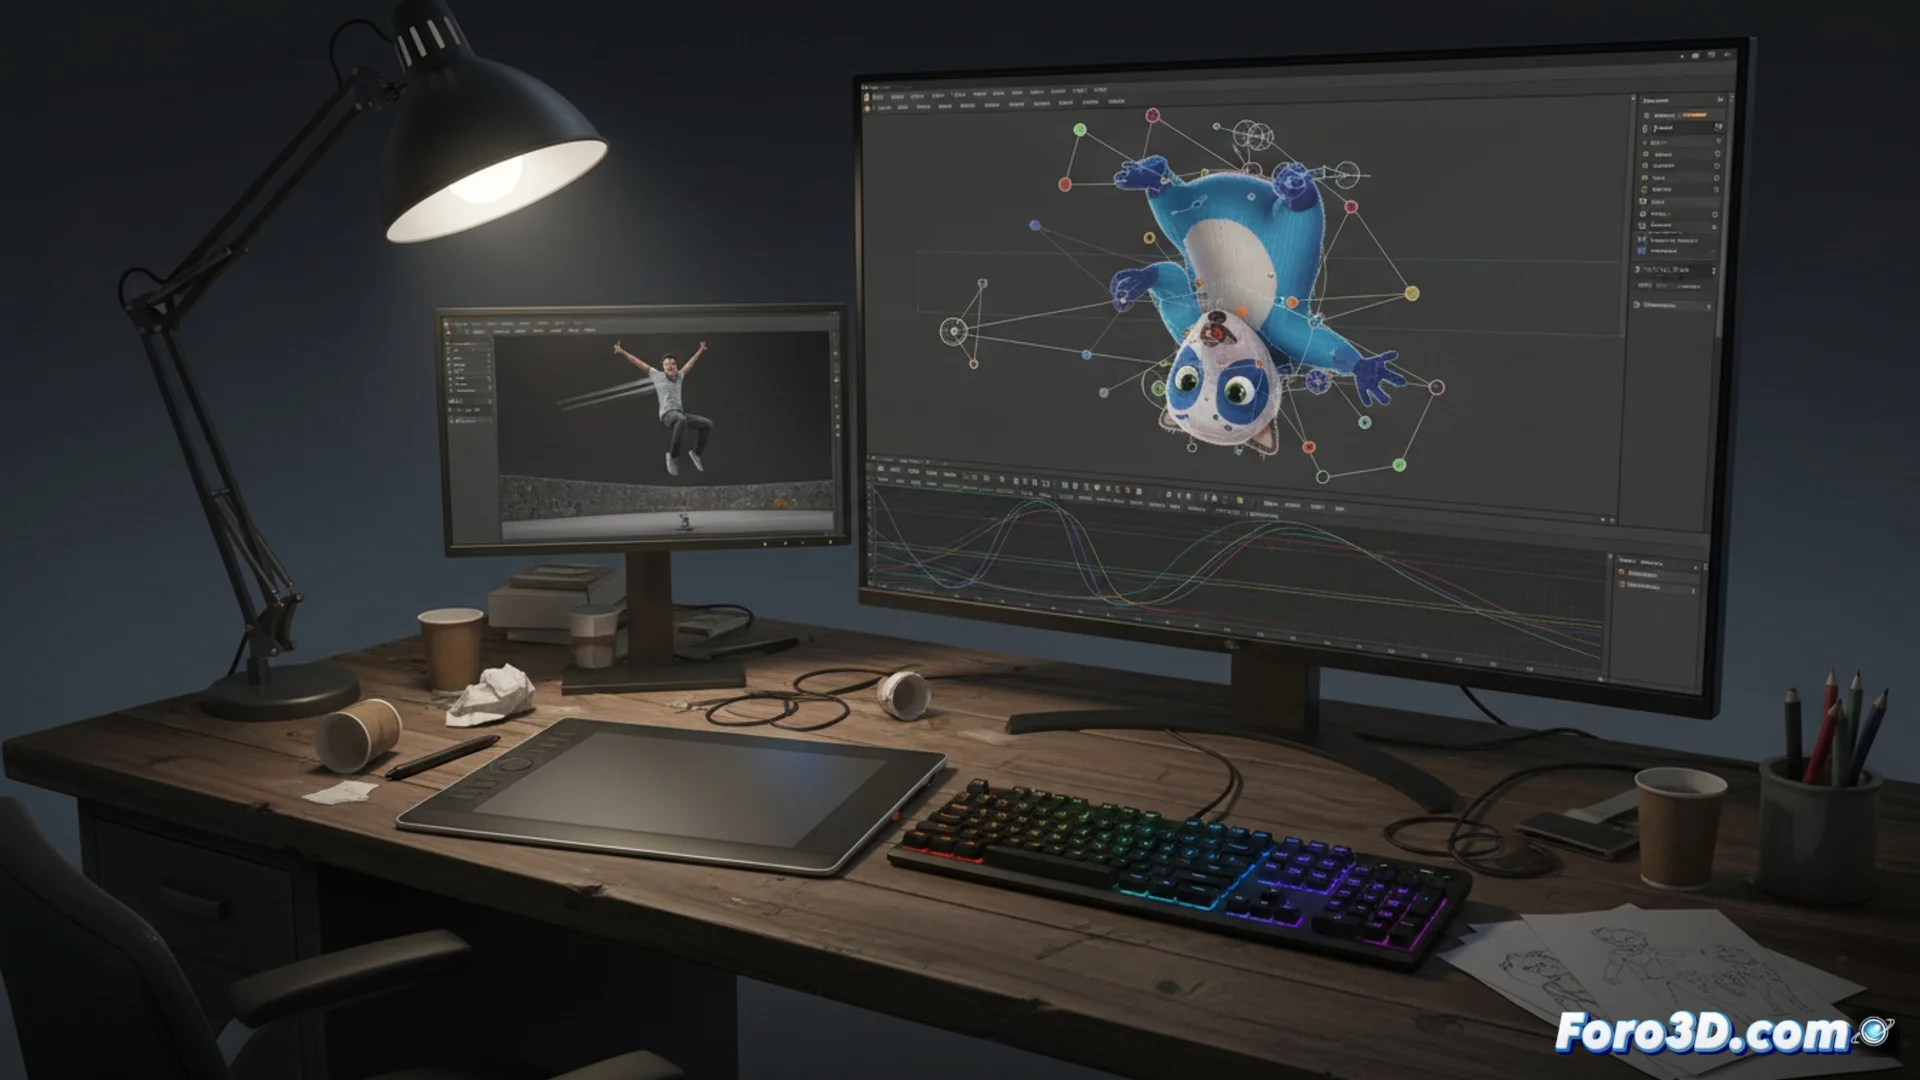
Prepare the Model with a Bone System
Before being able to move any element, it is essential to build a solid control structure, known as a rig. This digital network of bones must follow the character's anatomy to allow credible movements.
Key components of an effective rig:- Bones and controllers: Strategically placed and managed with constraints to make character manipulation intuitive.
- Inverse Kinematics (IK): Facilitates positioning limbs like legs and arms naturally.
- Deformers and shape keys: Handle facial expressions and other complex deformations.
A poorly built rig will make your character move unnaturally, reminding you that shortcuts in this phase only generate problems later on.
Create and Edit the Movement
The essence of animation lies in the principle of key poses. The artist defines extreme positions in specific frames and the software calculates the intermediates, creating the illusion of continuous movement.
Essential tools for animating in Blender:- Graph Editor: Allows fine-tuning speed and smoothing transitions between poses by editing interpolation curves.
- Non-Linear Animation (NLA): Helps organize, blend, and reuse action cycles, such as walking or running.
- Animation layers: Useful for handling complex actions separately, like body movement and cloth or hair simulation to add realism.
Final Workflow and Considerations
It is vital to review the animation in real time with the viewport and use video references to capture natural gestures. Once the movement is polished, the final result is rendered in layers (passes), facilitating its integration and adjustment during final compositing for cinema. A well-made rig speeds up this entire process and avoids complications when rendering. 🚀