Animating a Quadruped with a Single Mesh in 3ds Max
Bringing a four-legged creature to life in 3ds Max is a structured process that revolves around a single mesh and a bone system. The main workflow involves using the Skin modifier to link the geometry to a skeleton and then define how it deforms. The key is to organize the bones well and paint their influences precisely to avoid robotic movements. 🦴
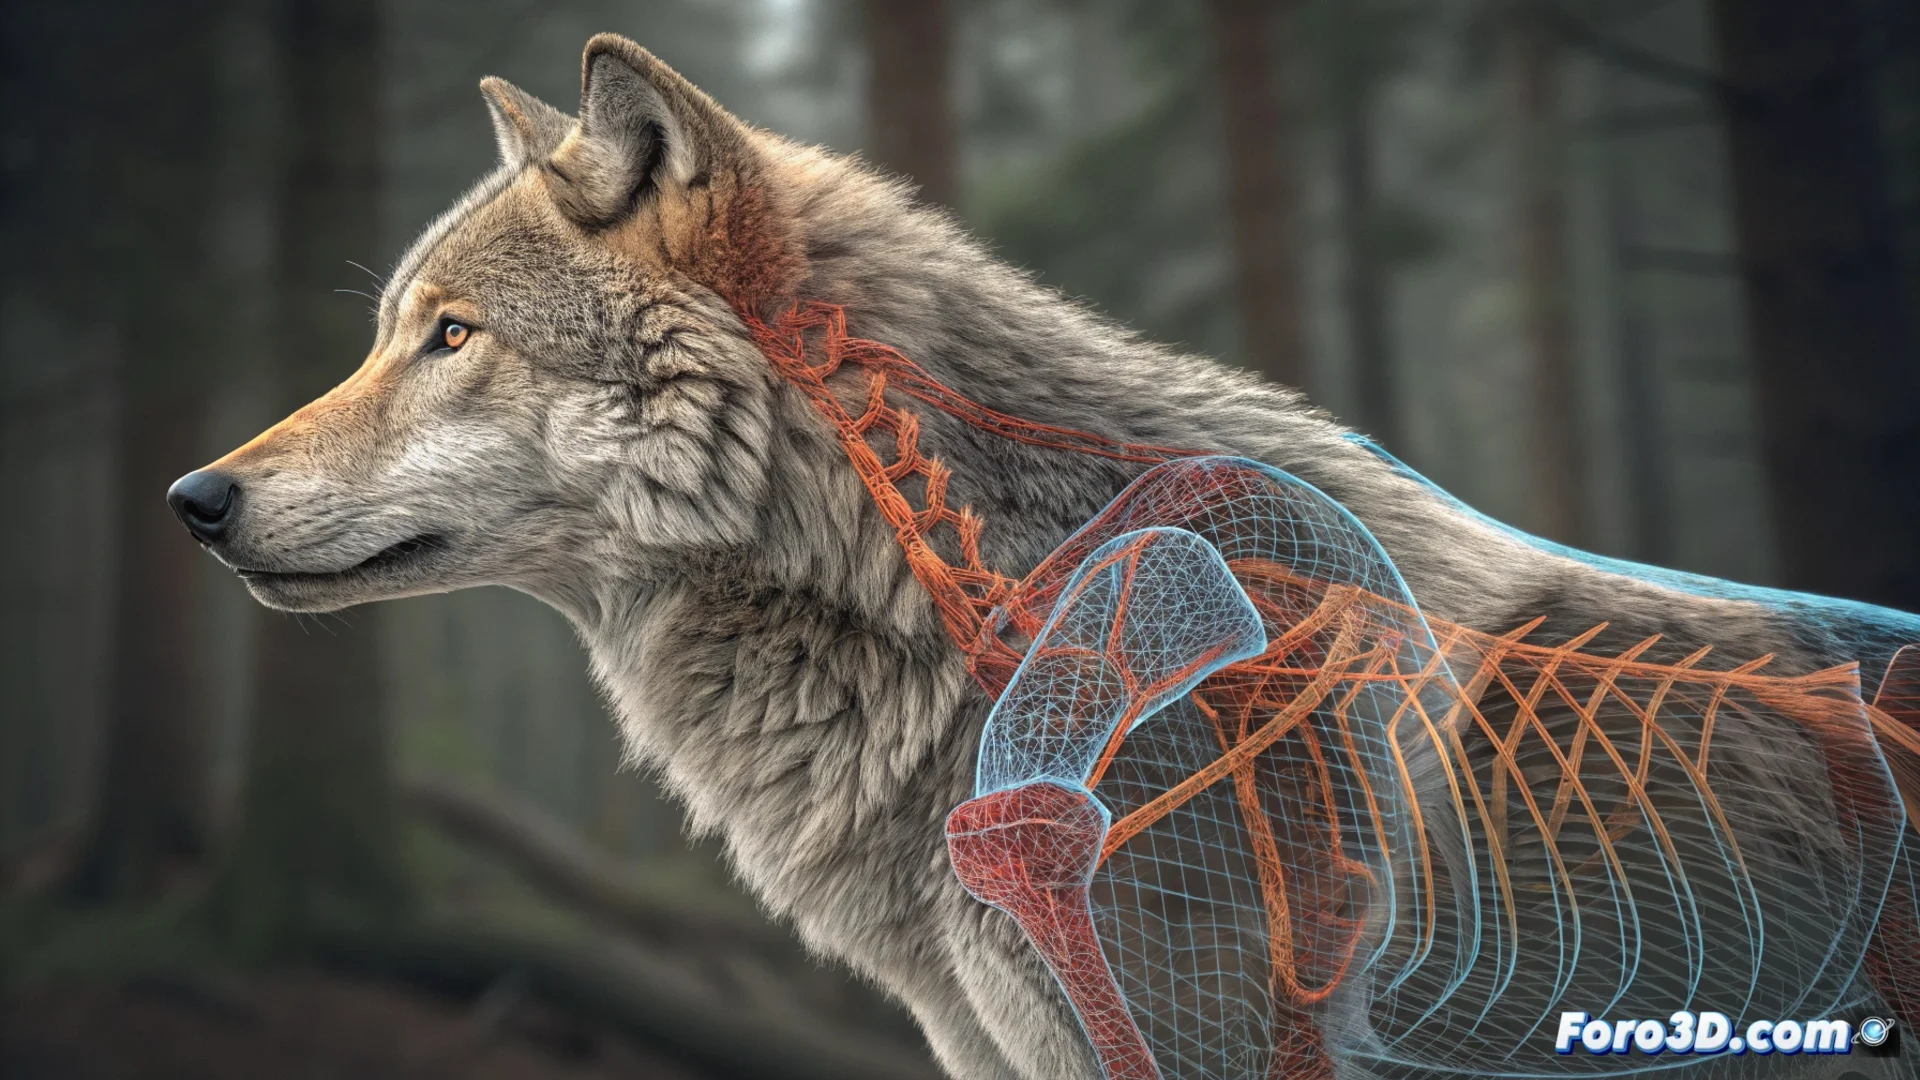
Prepare the Bone Structure
Before assigning any influences, you need to build the internal framework of your animal. Create a set of bones that represent the spine, the four limbs, the neck, and the tail. It is essential to establish a correct hierarchy, linking the leg and tail bones to the main torso. This skeleton will be responsible for all mesh transformations later.
Key initial steps:- Model or import the creature as a continuous mesh without separate parts.
- Draw the bones inside the geometry, aligning them with natural joints like shoulders, elbows, and knees.
- Verify that the bone parent-child chain is logical so that movement propagates naturally.
Patience when painting influences is your best ally to avoid the animal looking like it's made of rubber.
Link the Skin to the Skeleton
Select your model and apply the Skin modifier. In its parameters, add all the bones from the skeleton you created. The essential tool here is Paint Weights. With it, you will manually paint which areas of the mesh are controlled by each bone. For example, you must ensure that the thigh vertices only respond to the femur bone, and that the back area deforms smoothly with the spine. 🔧
Weight assignment process:- Add all relevant bones to the Skin modifier list.
- Activate Paint Weights and adjust the brush radius and strength.
- Paint meticulously to avoid undesired folds or areas that don't move.
Build the Walking Animation
With the skeleton correctly linked, you can start animating. Open the Curve Editor for total control over interpolations. For a basic gait cycle, set key poses at strategic frames for the legs, hips, and back. Activate Auto Key mode to record changes. A good shortcut is to animate only the legs on one side and then copy, paste, and mirror those animation keys to the opposite limbs, saving time and ensuring symmetry. 🐾
Remember to smooth the animation curves in the Curve Editor so that the movements are not linear or mechanical. A common mistake is not refining these weights, resulting in an animation that looks more like a military parade than the fluid gait of a living being. Reviewing and adjusting the Skin influences is a crucial iterative step to achieve an organic result.