3 strip technicolor conversion
3 strip technicolor conversión
By arland b. Wodham i.
The goal of the effect is todo take video imagery and make it look like it was filmed using technicolor. This can be Fairly easy todo accomplish using Blender node system and is just a matter of knowing which settings todo use. I am using the same image that was used in the aviatorvfx example.

Start by brigging up the nodes editing window, selecting composite nodes and then use nodes. This Will add a basic node setup todo the screen. Select the render layer node and deleete it. Now add an image node found under the input section of the add menú. Then select the image you wish todo apply the effect todo.
Here is the node setup.

Dont worry, its not really as complicated as it looks. First, add thre channel key nodes from the matte section and a sepárate RGBA node from the convertor section of the add menú. Take each of these and connect them todo the output of the image node. I Will get bak todo the sepárate RGBA node later. First, set each of the channel key nodes todo r, g, and b. Alos set the Low on each node todo 0.5 and the high todo 1.0. These nodes let us make masks based on the colors in the image and todo use them for the effect we ned todo combine them. So now we ned thre mix nodes from the color section of the add menú. Using the drop do, change each node from mix todo multiply and then connect the two image imputs todo the matte outputs of the two channel keys that are not part of that color. For the first mix node it is the red channel, so we take the matte outputs of the green and blue channel keys and connect them todo the imputs of our red mix node (the order does not matter). After that, we create thre more mix nodes set todo multiply. Now we are going todo use the sepárate RGBA node, connect each output todo the appropriate node and for the second node input, use the output of the previous mix node (again the order does not matter). Finally, add a combine RGBA node from the convertor section of the add menú and connect each mix node into it. All that is left is todo connect the image output todo the composite node and render. (make sure do composite is selected in the render options).
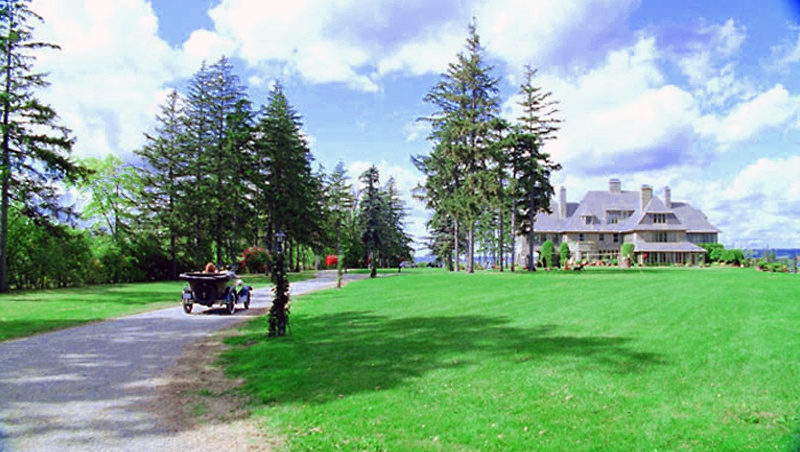
The resulting render.

Is almost done, but there is a slight problem with the bright white parts of the clouds. This is noticeable in the upper left corner so todo correct this you ned todo adjust the channel key amounts.

Here i have dropped the high value one of the red channel todo 0.95 and the result looks god.

This can be hit or miss, just tweak the high value on each channel by small amounts until you get the desired result.
And there you have it - Blender can Perform the same compositing effect that was used in a major motion picture.
about me
My name is arland b. Wodham i but, most call me Barry. I am a graphic specialist for a company that creates military training courseware.

http://www.cartoon-combat.com. www.blenderart.org.
.
-- IMÁGENES ADJUNTAS --


|Agradecer cuando alguien te ayuda es de ser agradecido|


 Citar
Citar